Monday, November 10, 2014

Update and a small project

A lot has happened in the last 6+? months since I started the sideboard.  For one thing, I finished it.
Fin.
But then I found a job in a new location.  So my wonderful (7 month pregnant) wife and I packed up our giant Texan house and moved to a suburb of Washington DC.  Just as we were getting settled, and I had started dimensioning the wood for the crib, our little boy decided to arrive 5 weeks early.  Later, we stuck him in a pumpkin...not everyone had fun.
Ian
Since I would rather spend time with my wife and son, than in my new fully functional but very very small shop, I bought a crib.  The cherry allocated for the crib is still kicking around, but it is no longer an item of primary importance.
My new shop (with wood, for the crib?)
Our new house does not have a small alcove for our receiver and DVD player like our old house.  Until now they have been living on a wire rack, that is neither attractive, nor positioned well for use (the remote only worked from 1 cushion on the couch...first world problems).  To remedy this I could either build a new low entertainment center, or make a small thing to lift the TV off the cabinet enough to fit the receiver and DVD player.  Since this isn't permanent, we needed it quick, and I didn't have to buy any wood I decided to build the small lift thing.  It is pretty simply and the dimensions were determined by the receiver.  I did decide to complicate it by making the center support a sliding dovetail instead of a dado.  Since there are lots of how-to's for through dovetails I didn't take pictures of that. I did take pictures of how I made a sliding dovetail by hand.  First I marked the tail and used a marking gauge to define the shoulder.  I used a board to keep the saw at 90 degrees and sawed to the line.
Cutting the shoulder of the dovetail
 I cleared the waste with a chisel then snuck up to the line on each end. By putting part of a wide chisel on the previously excavated section I was able to keep the slope pretty constant, and just worked my way to the middle.
Slicing the angle of the tail
Getting tail size
Transfer tail size
I used dividers to transfer the narrow part of the rail to the pin board?...not sure what that part is called.  The using a block with the same angle cut down to the correct depth making sure to offset the block the the saw kerf (though one could also flip the block over).
Cutting the angle using a guide block

Most of the waste was cleared with a chisel taking care not to destroy the edges.  Then a router plane to sneak up to the final depth.   Once the waste was clear, I adjusted the fit and tapered the tail using the wide chisel.
After clearing the waste with a chisel.
A few passes with the router plane to bring the slot to final depth.
I finished this with a few coats of garnet shellac, and some wax.  Now we can use the remote from anywhere in the room, and the college style wire rack is gone.
The sliding dovetail.
Those other dovetails.
The finished piece, nothing special but it works well.

Next up is a canoe rack out of dimensional lumber.  While the wood may not last forever, the joinery certainly will.


Thursday, May 1, 2014

Sideboard: Part 1


Instead of a changing table, which would later just be an awkward piece of furniture, Christy and I decided that a nice cherry sideboard would do the job, and serve a later purpose.  I started this one almost a month ago, but the last few weeks have been busy.  The last time I worked on this I got the wood S4S (square on 4 sides) and cut to rough length.  On the weekend of the 19th I finally got around to trying hot hide glue.  I would post instructions for use, but I think I still need to figure some tricks out.  For now I am using a small rice cooker, and a plastic cup.  Overall the glue-up went very well, you have to move fast, and the glue dries differently than any other glue (including liquid hide glue).  If I weren't so concerned about having screwed it up, the gel state of drying is great time for cleaning up the squeeze out.  The joints are strong and damn near invisible so I guess I got it mostly right.  Next time I will need to remember to continually add water, towards the end it wasn't spreading well, and the temperature was still right around 145.
My $7 glue pot, the lid is an old cutting board.
Moving quick to brush on the glue (look I got a tripod...I also need to clean my assembly bench a bit).
A nice glue joint after a few passes with the plane.
As you can see in the side panel this cherry has a lot of things going on.  The boards for the top look very similar but with some more dark sap streaks, should make for an interesting piece.  One thing I've been working on recently is hand cutting joinery.  Most of the time, I end up doing about half the joinery by machine and half by hand.  I have done a few hand joinery only projects, but they were pine, and for the most part painted.  For this project I finally committed to doing all the joinery by hand on a piece of "fine" furniture.  The first joints are mortise and tenon.  Step one is to set your mortise gauge (2 points or wheels) to the width of your chisel.
Set the width on the gauge, then don't touch it.
All 10 mortises are the same width, so don't touch the gauge till all the joints are done.  Luckily I have an extra marking gauge I made a few years ago to mark the length of the tenon.
All lined up, the marking gauge is the best tool for consistent marking.
For the first few tenons I ran my pencil down each gauge line to make it easier to see, though by the end, I didn't find that as necessary.  
All the lines marked, now just saw the line.
To cut the tenon I used the traditional three cut approach.  Cut one diagonal, cut the other diagonal, then saw out the triangle of waste in between.  This approach helps keep you saw cut square, as you are sighting down two lines.
First diagonal
I love my Bad Axe sash saw, but for the rear apron (7" wide) I went with my old Disston.  It is a bit longer, and is 9 TPI instead of 12 TPI.  This made quick work of the wide tenon, though it would have been a bit tiring to use for all of them.
Making the third cut, down to the baseline
Since the shoulder is a cut that will show, I make a small V cut with my knife to help register the saw.
It doesn't have be big, just enough to establish the shoulder.
Drop the saw in the line and cut.
I was very careful to not overcut the shoulder line when sawing the cheeks.  This left a bit of waste in the middle.  After I made the shoulder cut I popped off the little end pieces, and then carefully sawed the rest of the way to the baseline.  This allows me to see the entire baseline from one angle and ensures I don't leave any kerf marks.
Just a little more waste to saw.
Leaving a nice clean tenon.
There was a little clean up left to do.  The wide back apron gets 2 tenons, so I cut out the waste with a coping saw.  Then I cleaned up the waste left between the cheek and the shoulder with a chisel.
Carefully avoiding the shoulder.
Using a chisel (angled towards the tenon) to clean out the last bit of waste.
Once I had all the tenons cut I doubled checked how I wanted the legs lined up, and marked them for the mortises using the marking gauge still setup for my chisel.  To mark the length of the mortise I marked it directly from the tenon.
Marking the length of the mortise.
Ready to start chopping.
Something that has become very apparent to me as I spend more time chiseling is the importance of body position/sight lines.  As an example, when chopping/paring the waste between dovetails, the most important thing is the chisel is vertical relative to the baseline.  The chisel (depending on width) will naturally square itself side to side.  So the best way to place the wood is so you can see that vertical.  Initially when I started mortising the legs I set them up like I would for clearing out dovetail waste.  It didn't take long to realize that for mortises (especially when your chisel is skinny 1/4"), its much more important to sight vertical along the wall of the mortise, since the chisel is angled in use.  Okay that's a lot of words, hopefully this will be more clear with a few pictures.
With the leg like this I can see the the angle of the chisel in the direction of the chopping, which doesn't matter too much till I square up the ends of the mortise.
By repositioning the leg I was able to better control the angle of the wall of the mortise.  If the mortise were wider the width of the chisel would help keep the chopping vertical.
The first mortise was a little crooked.  Luckily because I like making more work for myself I sawed the tenons a little fatter than the mortise, and was able to adjust the mortise to square without compromising the fit.  The rest of the mortises were square and the tenons were touched up with a rabbet block plane to fit.  Hopefully in the future I remember that and have the confidence to saw to the line, and have a fit off the saw.

After getting the two lower stretchers to fit I removed the planer marks from the side panels.  I shot them to length and then planed the width to match the length of the stretchers between the shoulders.
Using a raking light helped me see where there were still tracks.  I need a few more passes on this one.
Two complete, and square side assemblies.
Now that I am back in town, I have to finish chopping the apron mortises, and taper the legs.  Then some more hot hide glue excitement.

Thursday, April 17, 2014

Brewing

This weekend was occupied with lots of little things inconveniently scattered throughout the two days, so I never really got a rhythm in the shop.  I managed to sharpen all my chisels, and started on my plane blades.  One day I would like to be able to sharpen as I use them and not feel like I have to dedicate hours to sharpening everything I own....maybe next week.

What I did do (for the second weekend in a row) was brew a beer.  I got a recipe from Brady for his IPA, and he had a bunch of extra supplies, so this beer only cost a pack of yeast.  Looks like I owe him a beer.  For those that haven't take a brewery tour, the basics behind brewing beer are: harvest some grains, let them start to germinate so they are loaded with starch, then toast them.  You now have malted barley.
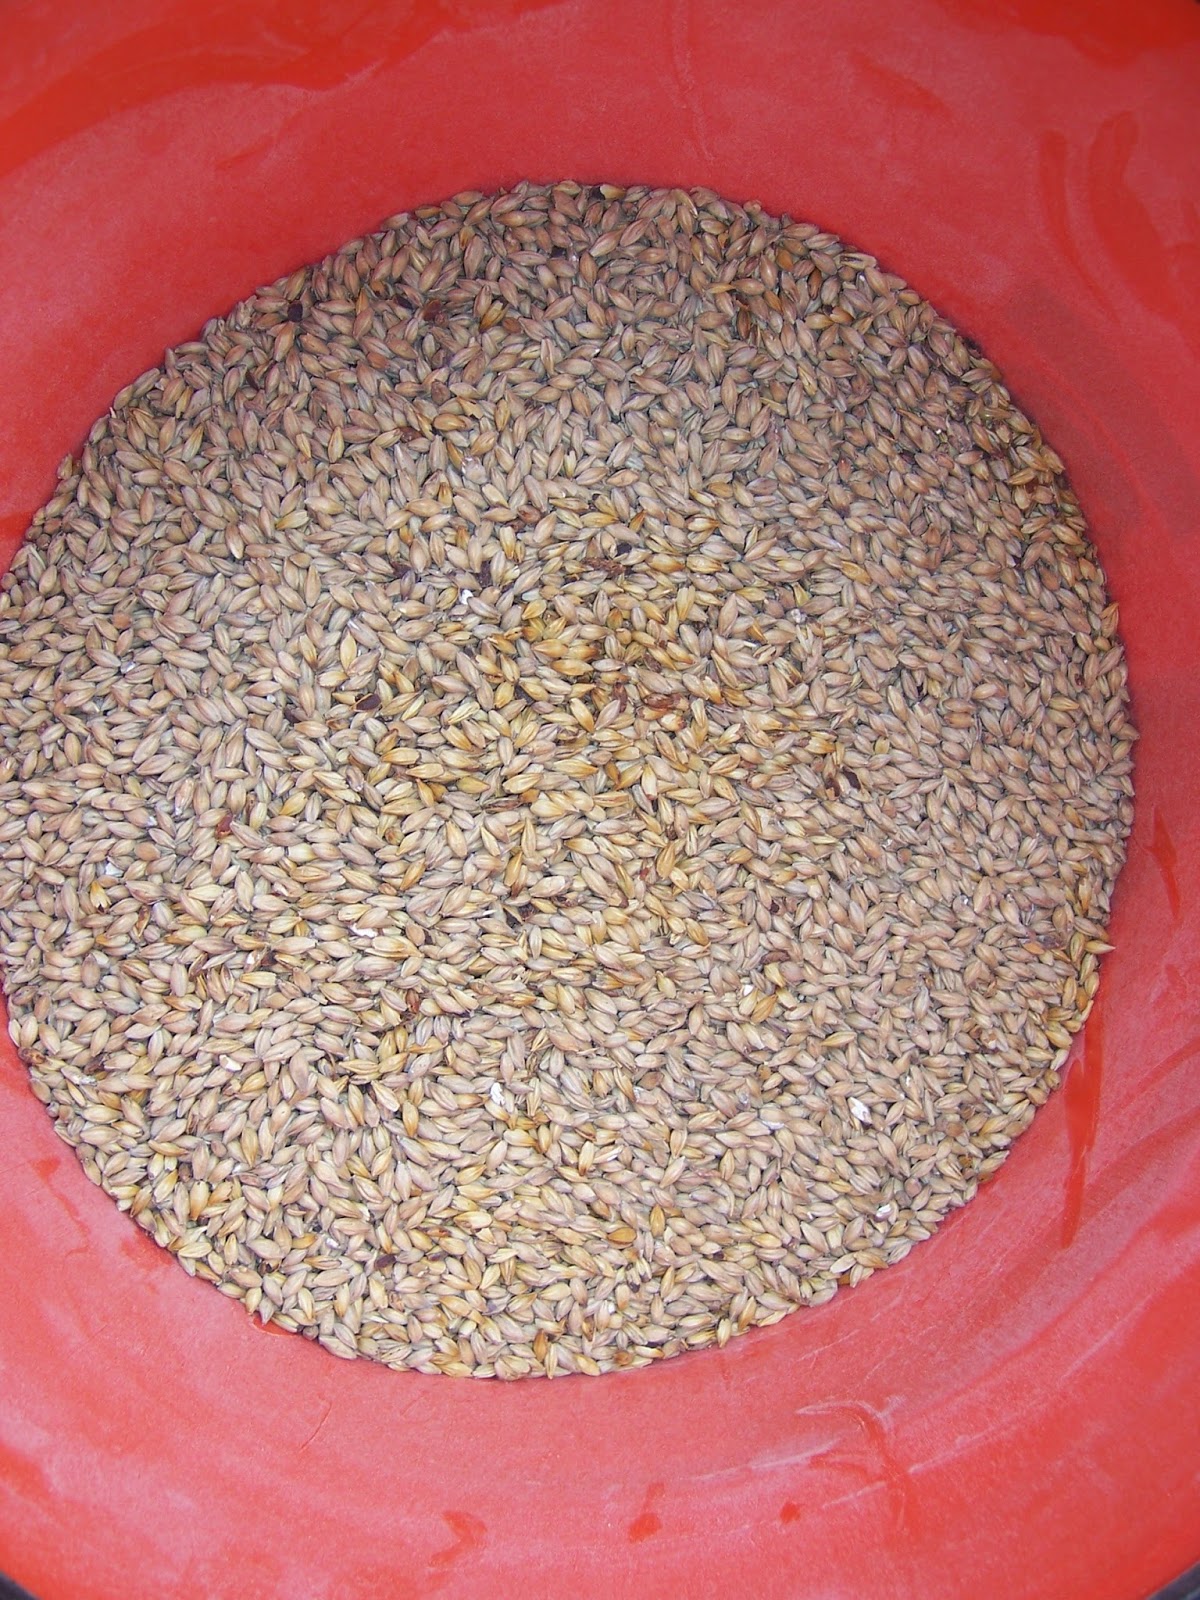
Malted barley in a bucket
 Break open the kernels to get at the endosperm.
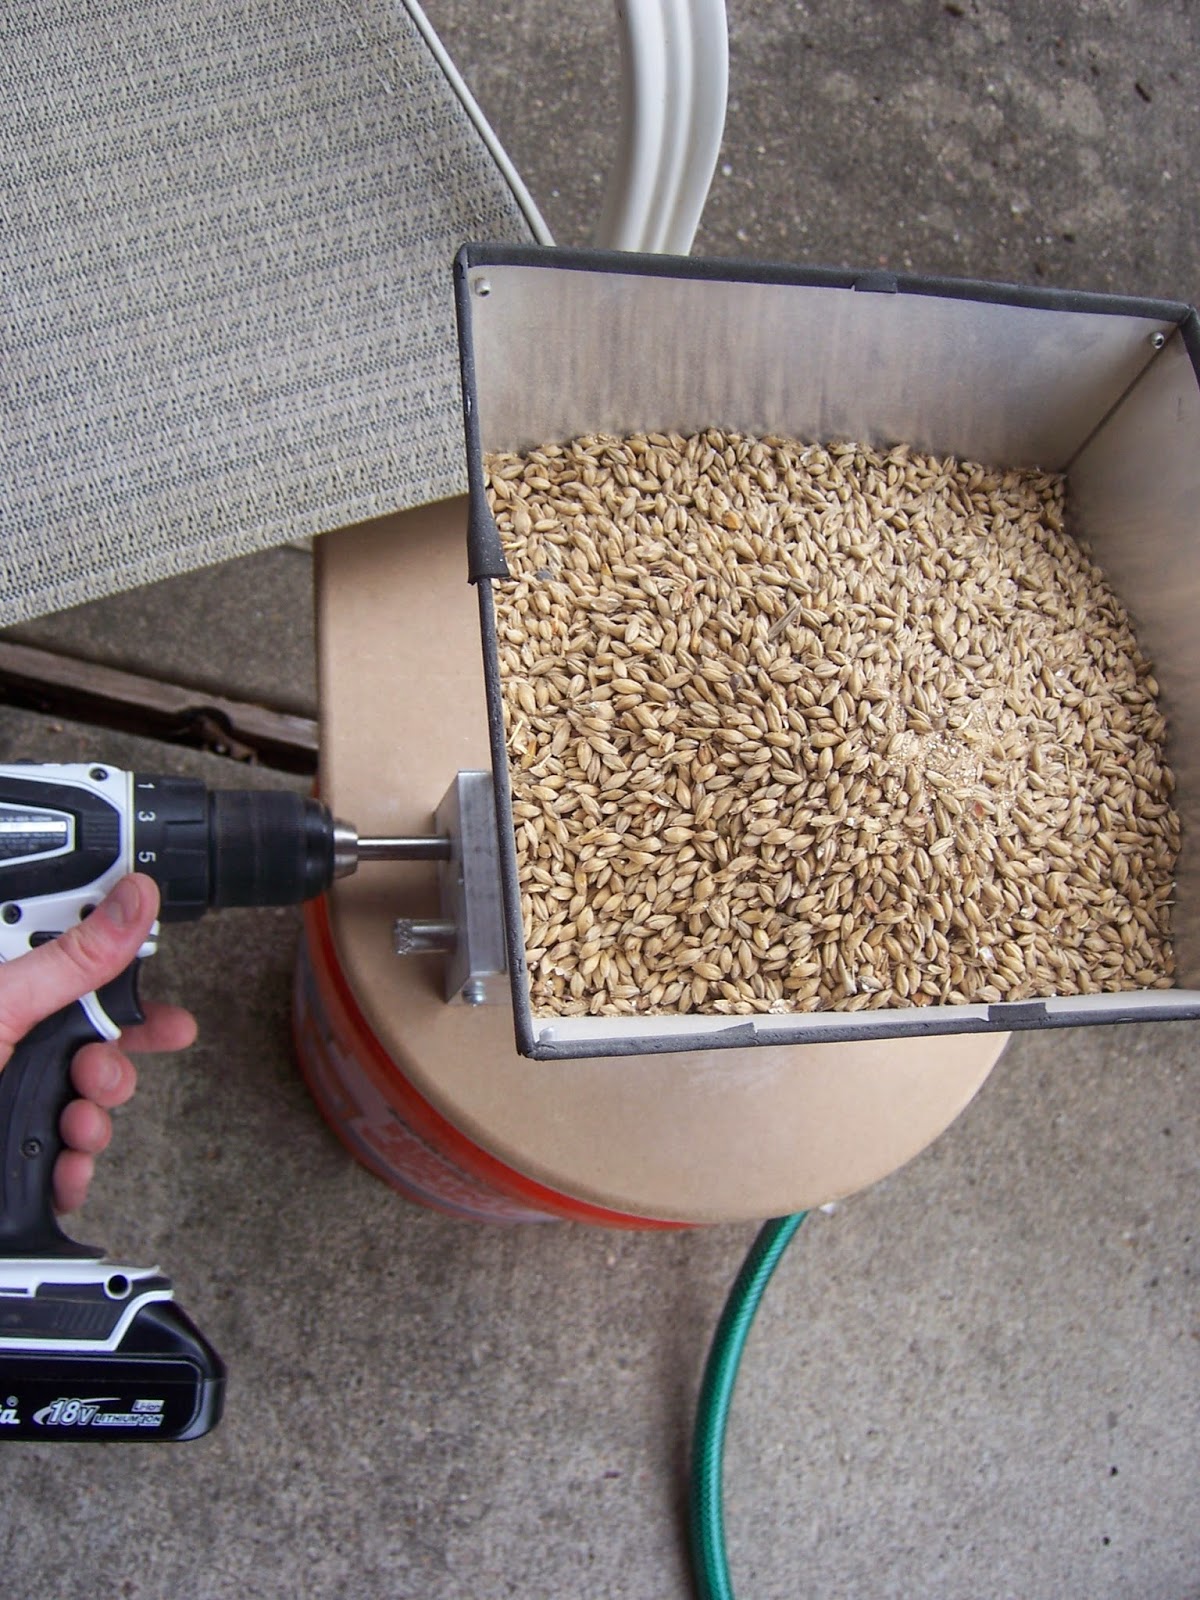
I usually get it crushed at the store but this time I borrowed Brady's grain mill, 
Broken husks and crushed endosperm
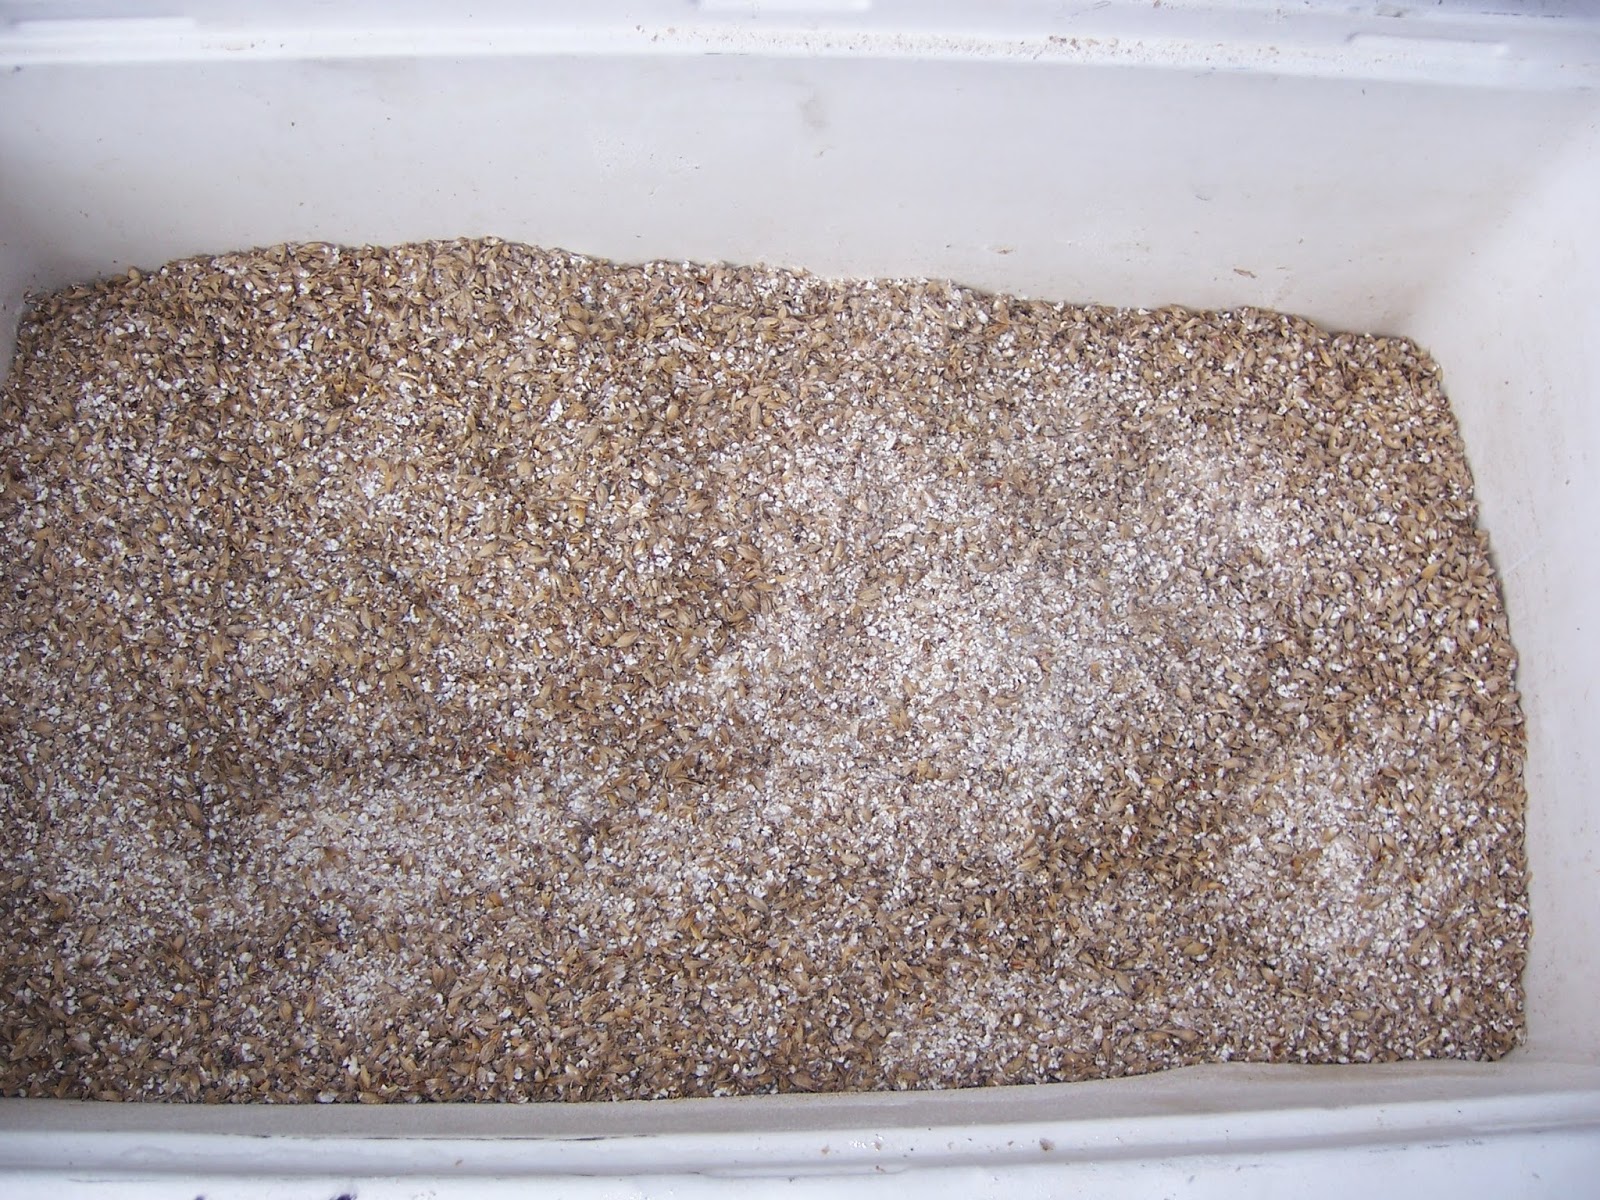
I put the grain in my mash tun, which is a cooler with some slotted copper pipe at the bottom.  The pipe lets the sweet liquor through, stopping the grain.
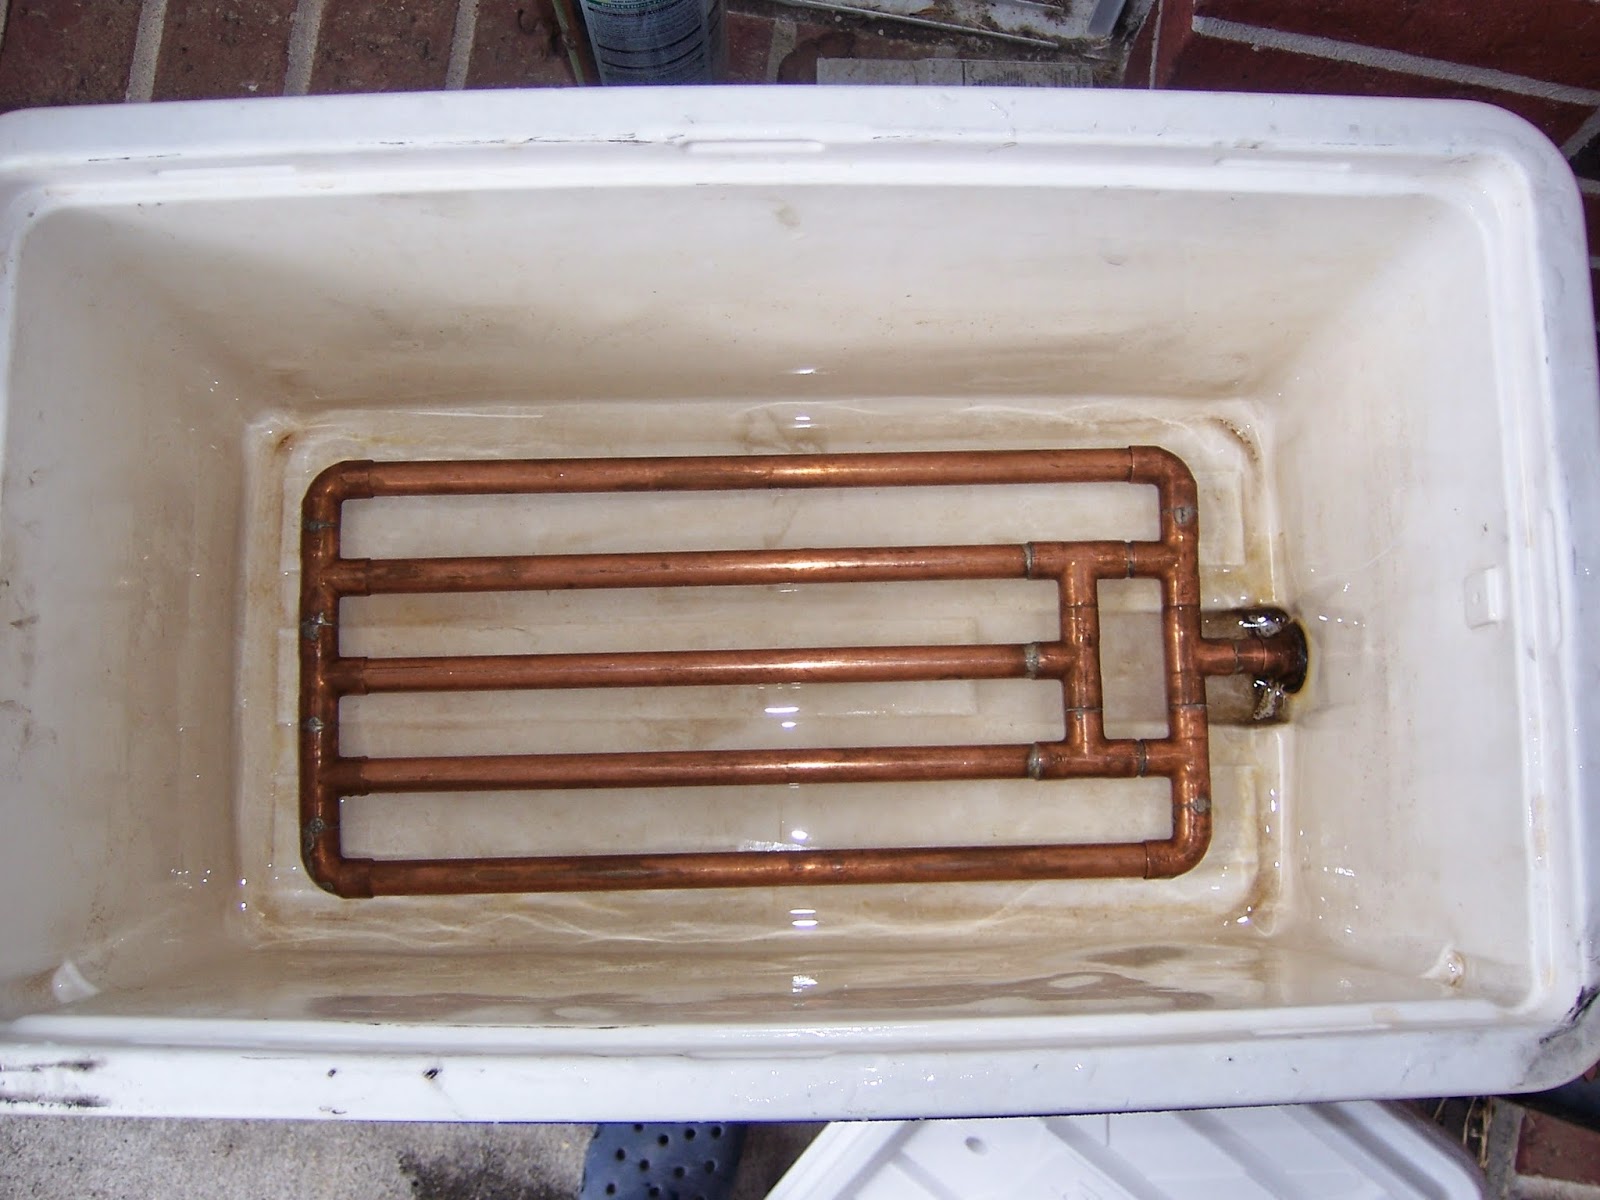
The slots are sawn in the underside of the pipe
Add some hot water and let it  soak at 153 degrees for an hour to convert the starch to sugar.
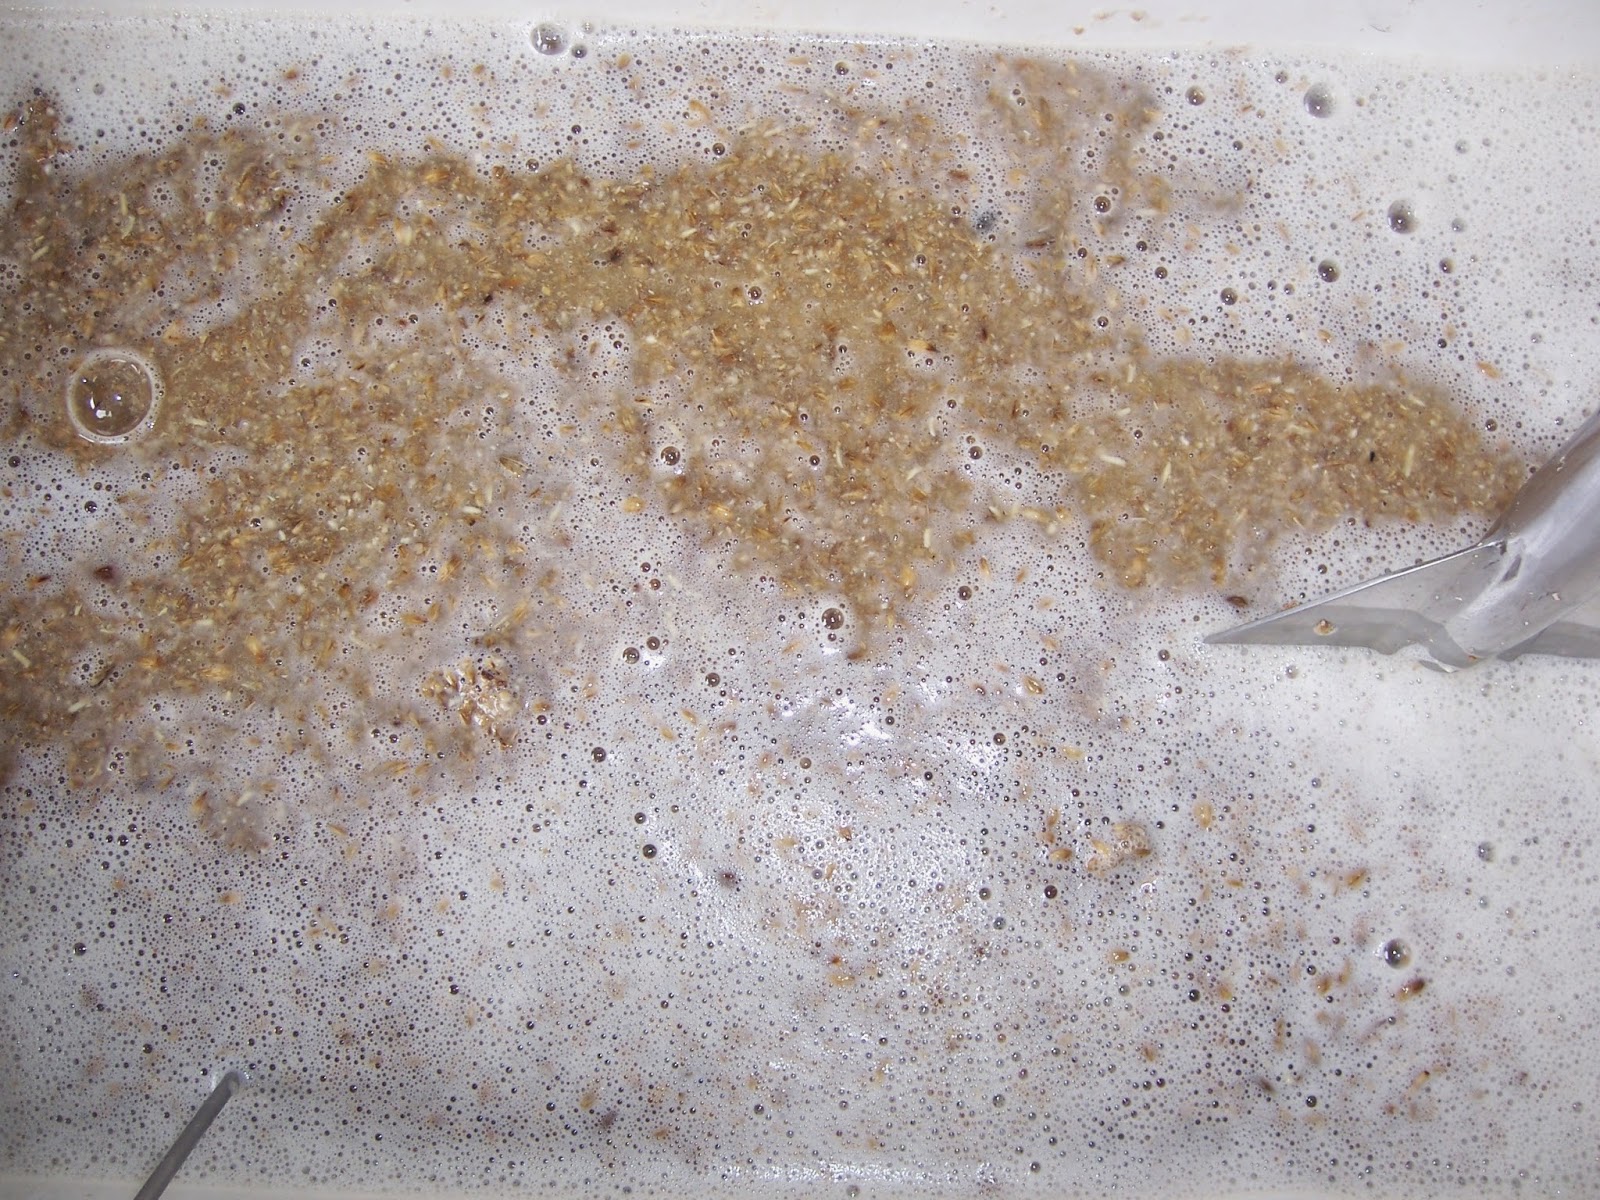
This smells great, by the way.
I batch sparge my beer, because I haven't figured out and made a fly sparging apparatus.  So I drain all the sweet liquor and then pour in some 170 degree water to basically wash the grains of any remaining sugars.
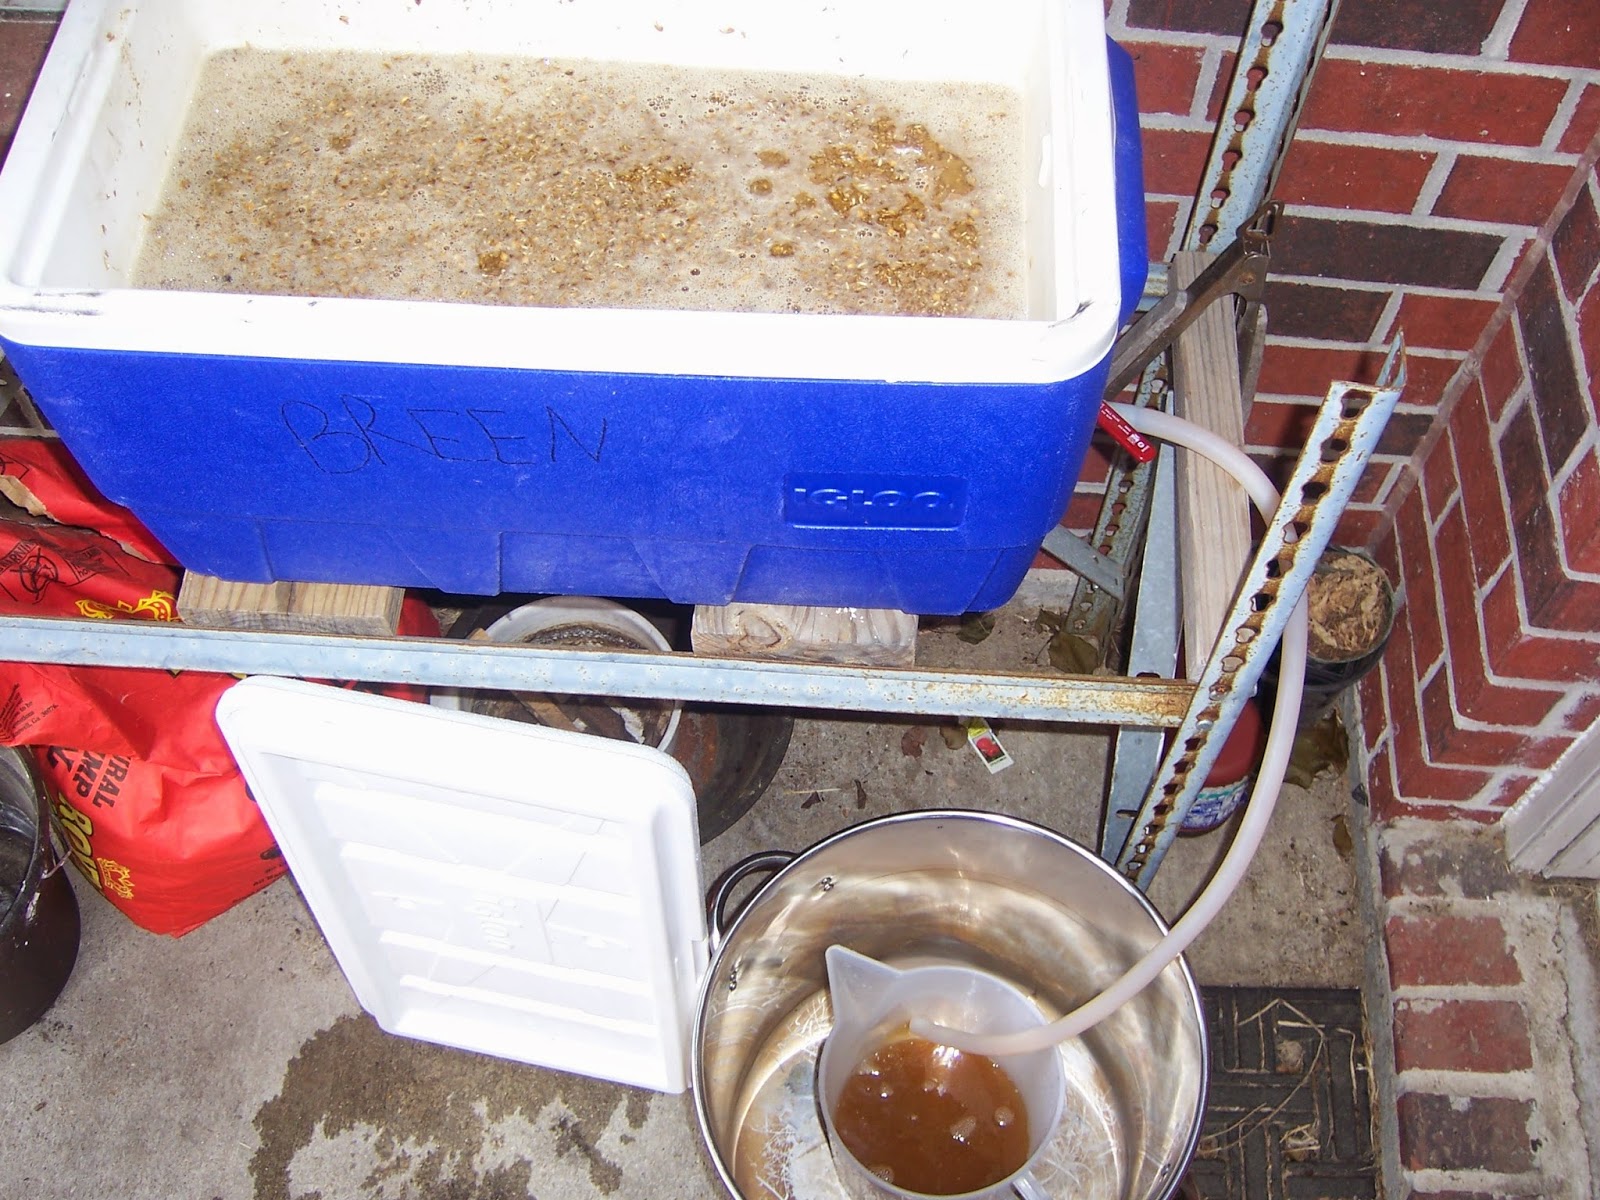
The first few liters is usually cloudy so I pour that back in, and then it pours clear.
Now boil for an hour or so, and add hops at whatever your recipe calls for.  When added earlier in the boil, they add more bitterness, versus later, which tends to add more aroma.
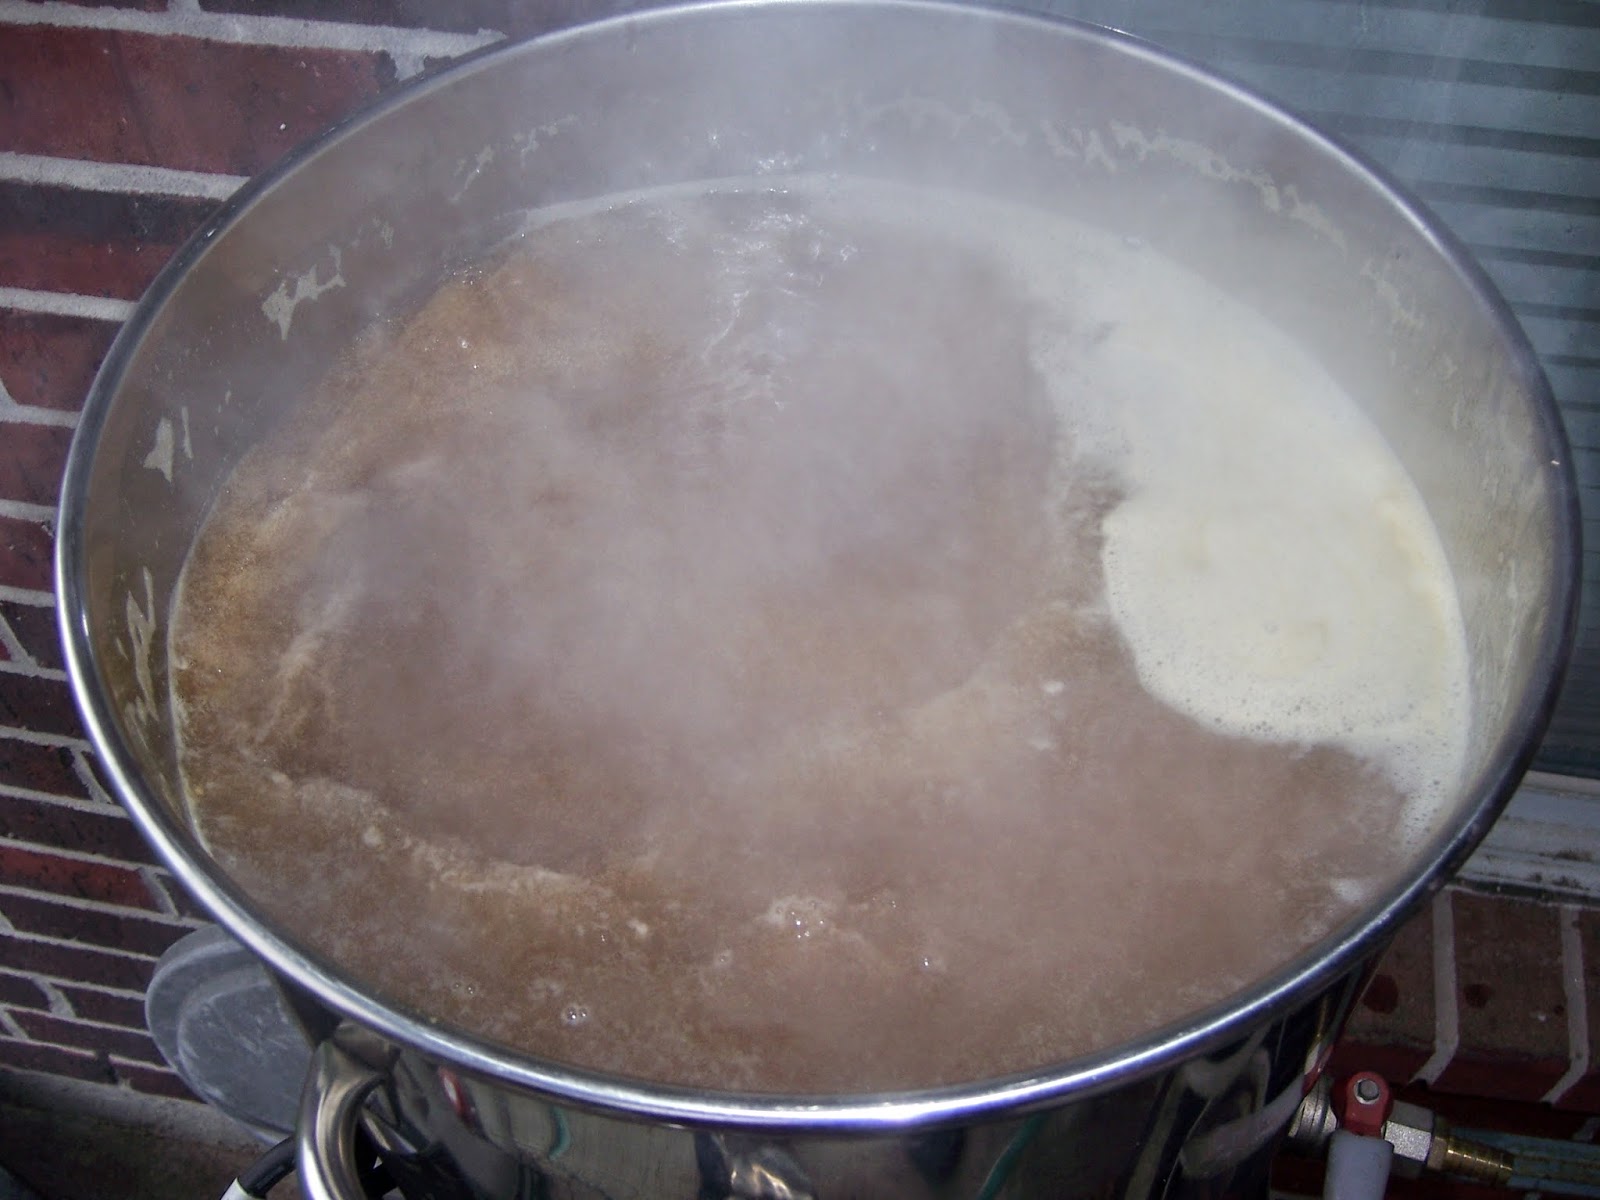
This also smells fantastic.
This needs to cool to somewhere between 65-75 degrees before the yeast are added so they survive.  To do this I made a counterflow wort chiller.  It is 25 ft. of copper tubing with some solid core wire wrapped around it (and soldered in place) inserted into a garden hose.  The wort flows through the copper tubing, and then water flows between the tubing and the hose in the opposite direction.  The wire helps disturb the water flow, so that its not always the same water in contact with the copper tubing.  This allows me to open the valve on the kettle all the way, and as the wort drains into the carboy is is instantly cooled to whatever the water temperature is ~70.  It takes about 10 minutes to transfer.
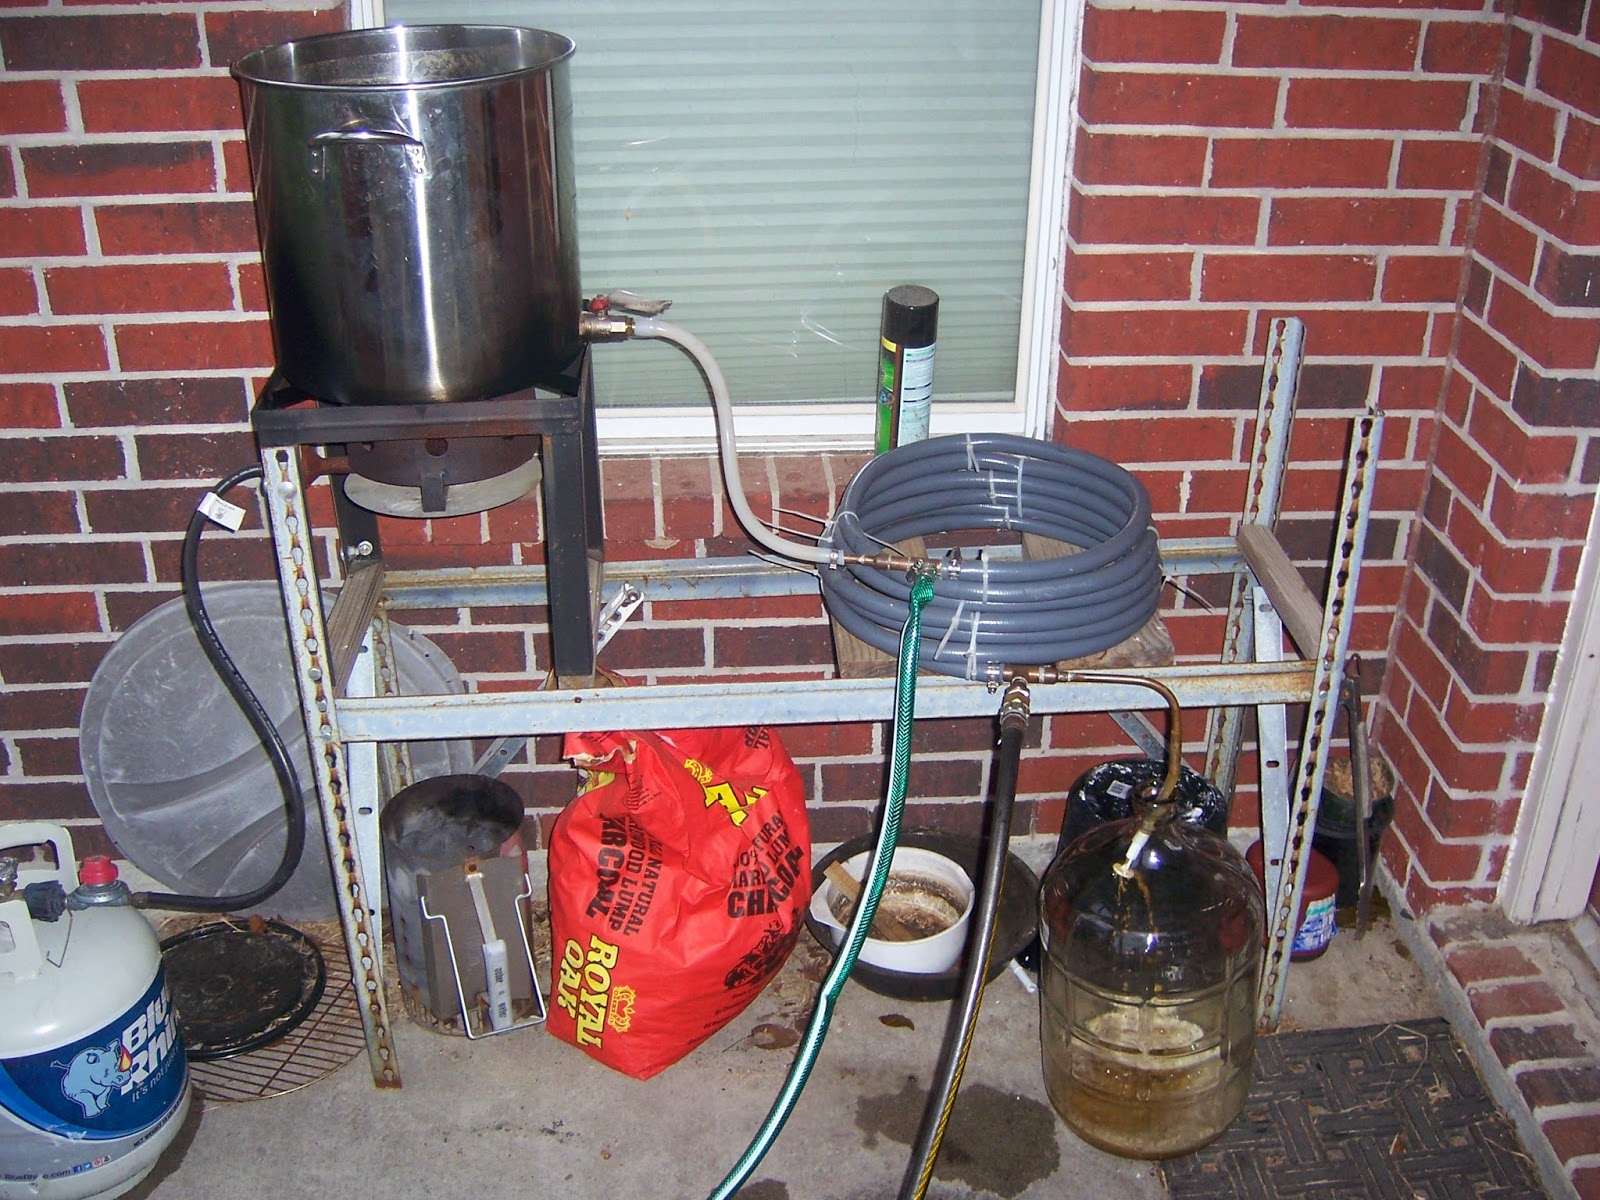
Draining and cooling the wort.
Next is to add the yeast.  I like to transfer the beer from one carboy to another after about 3-6 days.  Then it sits in the secondary for the remainder of 2 weeks, or whenever I get a chance to keg it.
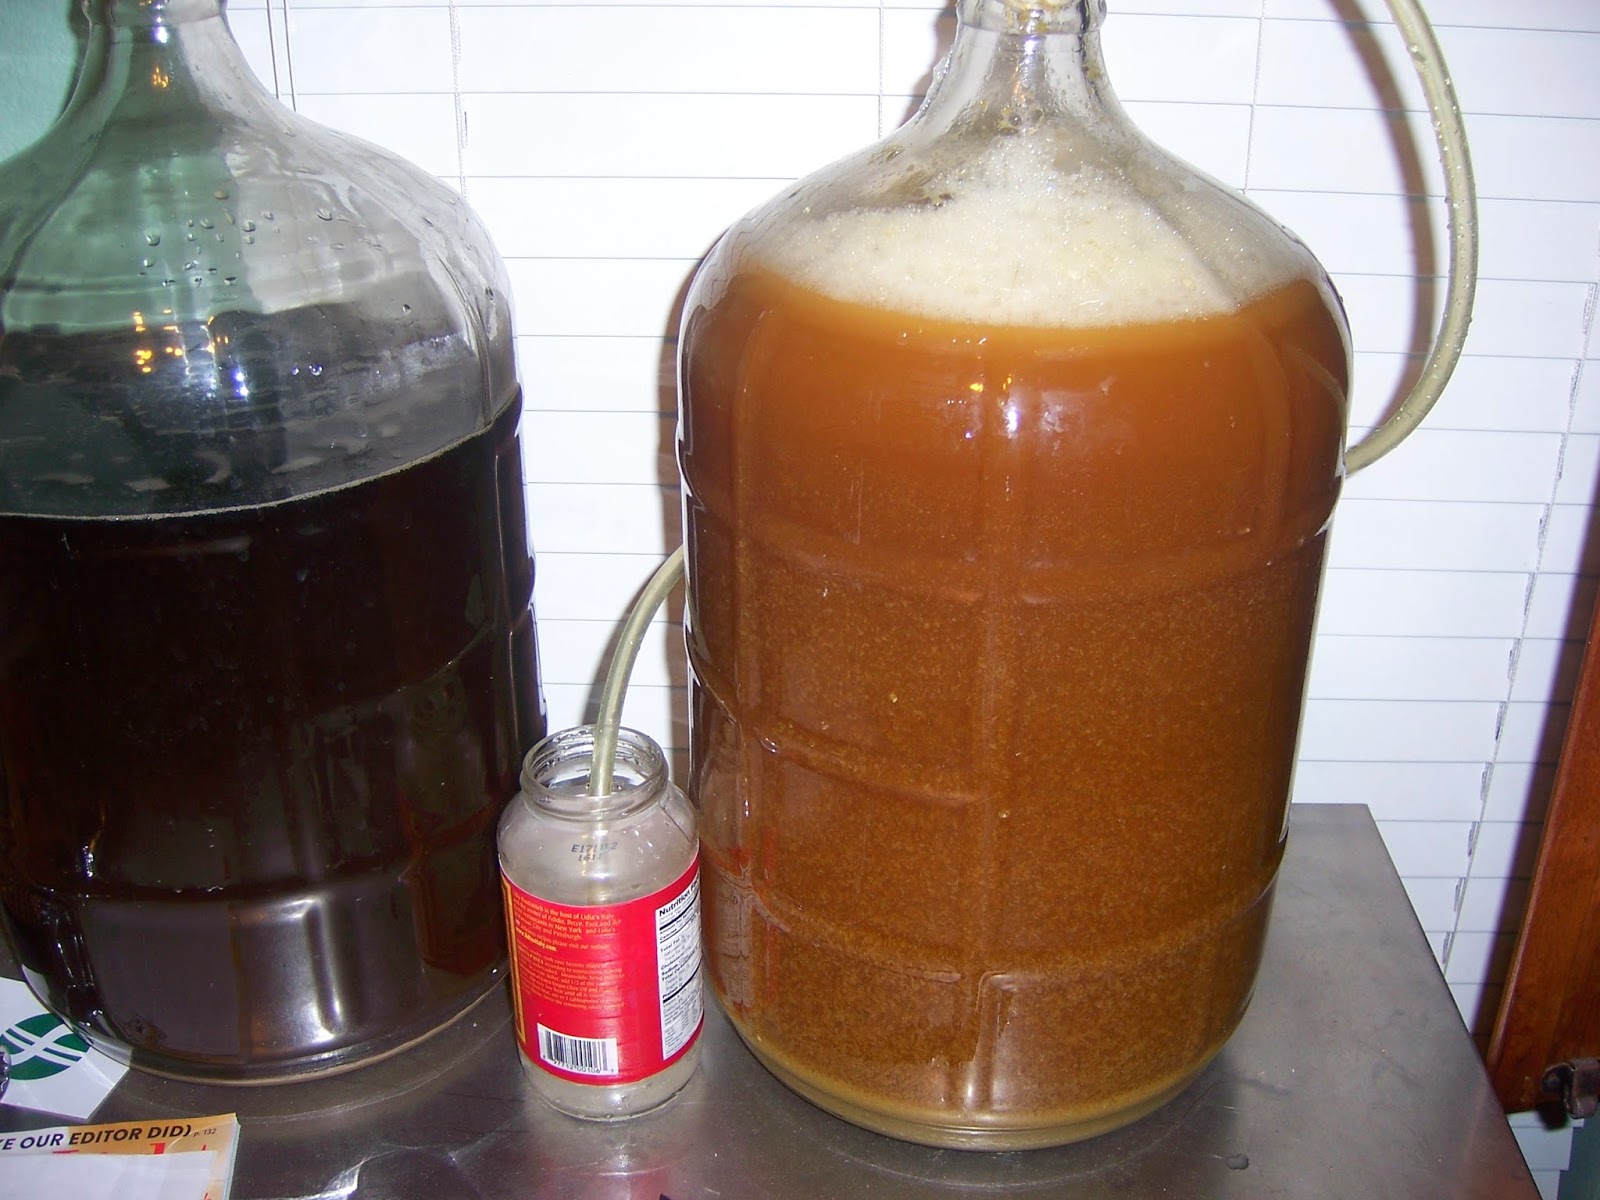
Just a few weeks till beer.
My process and equipment isn't the prettiest, but it brews a good beer, and I have gotten it down to where I only need to check on it every 20-60 minutes depending on where I am in the process.  From heating the water to putting my stuff away takes about 4 hours.

Monday, April 7, 2014

Rocking Chair Finale


Last week I made a concerted push to finish the rocking chair.  After gluing the arms I cleaned up any glue at the joints and then sanded everything one more time.  The finish is the same as is applied to the stool.  Vintage maple transtint, oil then shellac.  I wiped on the dye and oil.  
The oil really made the figure in the arms pop.
Set up for shellac
Then I decided to spray the first coats of shellac and just wipe on the top coat to even things out.  This greatly reduced the time spent applying, and I still ended up with a smooth finish.  While applying the finish to the chair I wove the seat of the stool.  Which is the same process but much less complicated than the chair described below.
Completed stool

I put on the last coat of shellac Saturday afternoon, and then decided to finish a bowl I started a few months ago.
Just starting the inside, hopefully the bark inclusion is stable.
I also found some time to brew a beer.
Belhaven 60 clone
I also started milling the wood for the sideboard/changing table.  For rough sawn wood from a store my process is similar to the reclaimed process except its faster and easier on the tools.  First cut to rough length.  Using a jack then a jointer plane get one face to sit flat on the bench.  Joint an edge, then head to the planer and table saw to bring to ~1/8" of final dimensions.  I don't worry about thickness, just send it through the planer till both sides are planed everywhere.

Cherry prepped for sideboard
Sunday morning I waxed the chair and started weaving.  Trim the foam to fit inside the chair frame, and nip the corners to make sure they don't show.  The first part is called the warp.  This runs front to back, and should be the dark colored tape since it will look less dirty.  The main thing here is to keep it nice and firm, but not so taught it bends the front rail.  I also checked to make sure the top was square to the chair.  Try to fit as many rows as possible without overlapping the tape.  To fill in the triangular corners use some small pieces and tack them as far back on the underside of the rail as possible.  Insert the foam.  Now its time to weave the woof.  Tack one end in the middle of the back rail under the warp.  By putting it in the middle you account for the slant that is required to advance to the next row.  The bottom of both the warp and the woof are tilted slightly but the top (show side) is square.  I wove the woof all the way through to the end, and then I realized that it was starting to slide toward the back of the chair.  To remedy this I added some double stick tape to the sides of the rails, to prevent the woof from sliding back.  I loosened all the rows enough to get the (sticky) tape in, then pulled the woof tightly securing it against the tape.  Don't forget to use your fingers to push/pull each row of the woof tight against previous row before sticking it to the tape.  Again this should be really tight, and towards the end is pretty difficult to pull through, and tighten.  I ended up using surgical clamps to help weave the tape.  This makes a nice firm seat, that I am sure will sag slightly over time.  Finally at the end make sure the woof is tight, and its not possible to get one more row in....and tack the woof under the warp on the bottom of the front rail.  Here is a bunch of photos showing the process

Sizing the foam
Tacking the warp
Wrap the warp
I used vice grips (lightly) to hold the warp in place as I tacked it in
Squaring up the warp before adding the filler strips
Add filler strips to each side (and trim)
Top view of the seat with filler strips
Don't forget to add the foam
Separate the warp and tack the woof under the back rail
Using a needle made from splat scrap.
Halfway there
Adding tape to reduce the sliding.
By the end of Sunday I had completed the chair, and bowl, and got a good start on the sideboard
Ready to use
Showing off the arms
This chair rocks!(...really can't believe I waited to say that till the end)
(also not a hipster haircut...sweaty from weaving, cause that sounds better)
Completed maple bowl (a well used cutoff from my workbench)