Thursday, April 17, 2014

Brewing

This weekend was occupied with lots of little things inconveniently scattered throughout the two days, so I never really got a rhythm in the shop.  I managed to sharpen all my chisels, and started on my plane blades.  One day I would like to be able to sharpen as I use them and not feel like I have to dedicate hours to sharpening everything I own....maybe next week.

What I did do (for the second weekend in a row) was brew a beer.  I got a recipe from Brady for his IPA, and he had a bunch of extra supplies, so this beer only cost a pack of yeast.  Looks like I owe him a beer.  For those that haven't take a brewery tour, the basics behind brewing beer are: harvest some grains, let them start to germinate so they are loaded with starch, then toast them.  You now have malted barley.

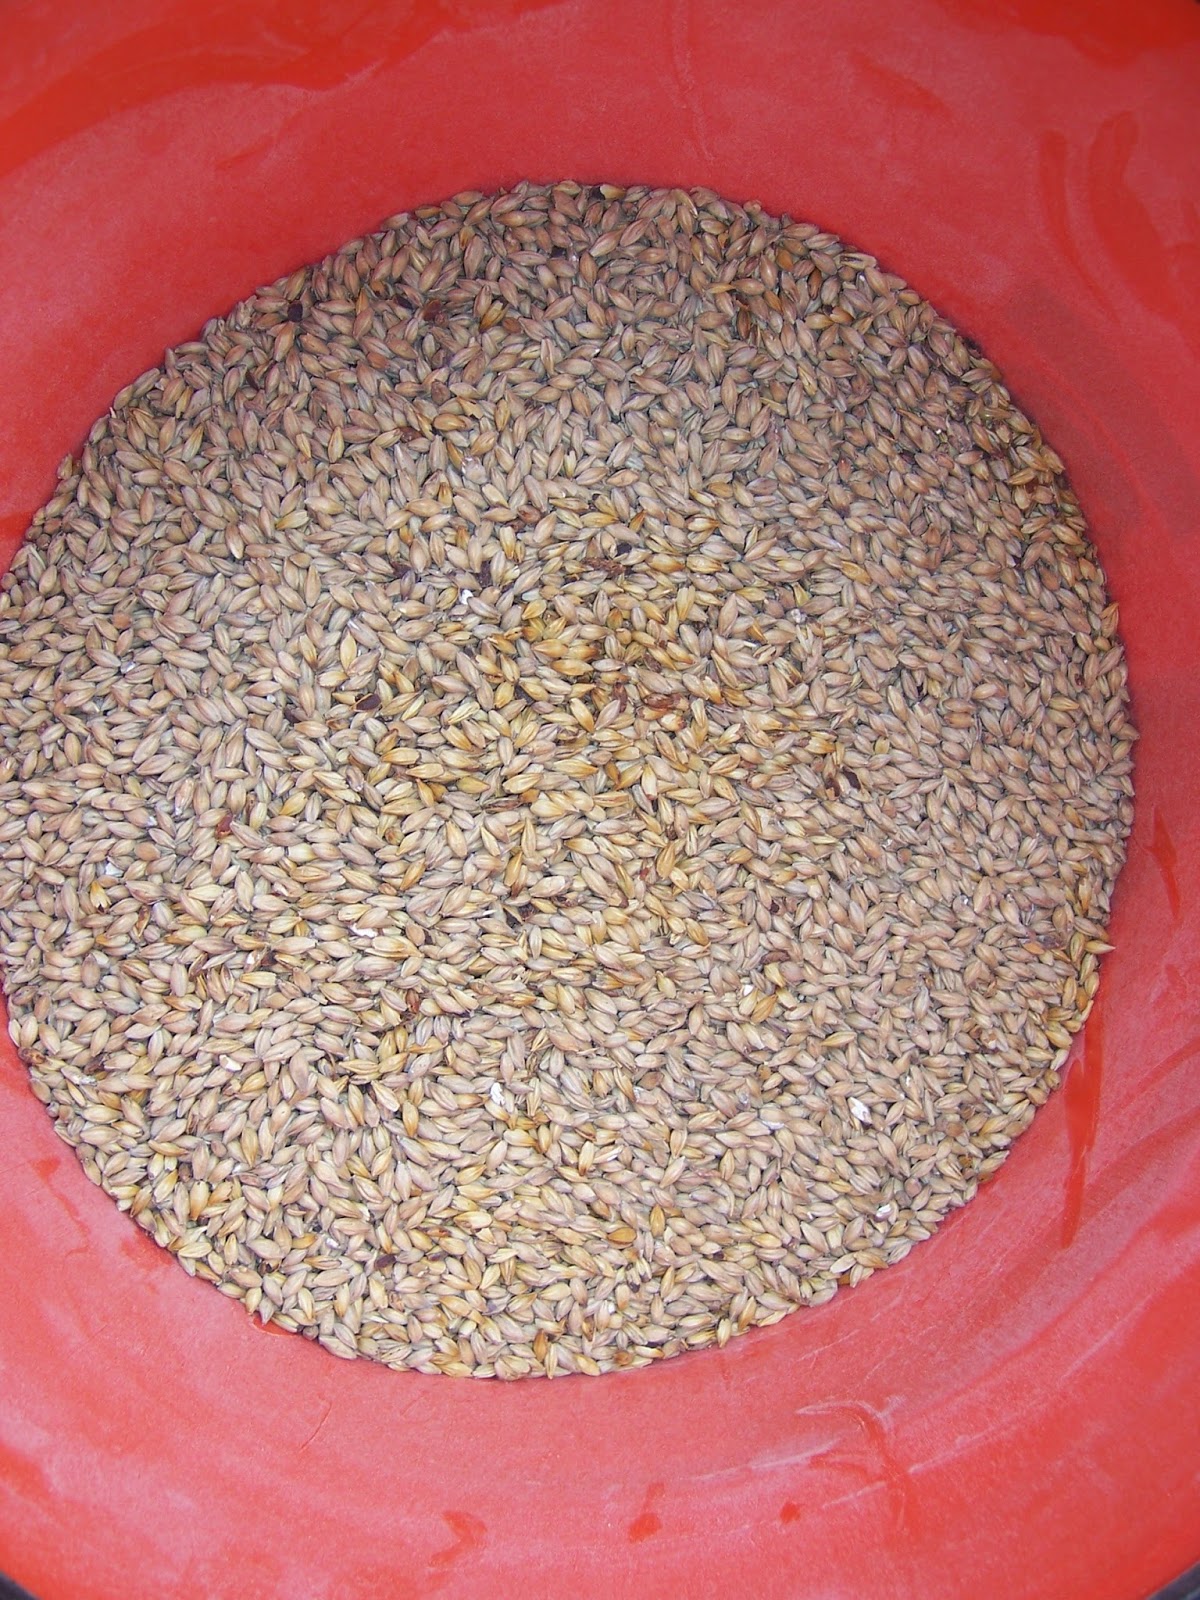
Malted barley in a bucket
 Break open the kernels to get at the endosperm.
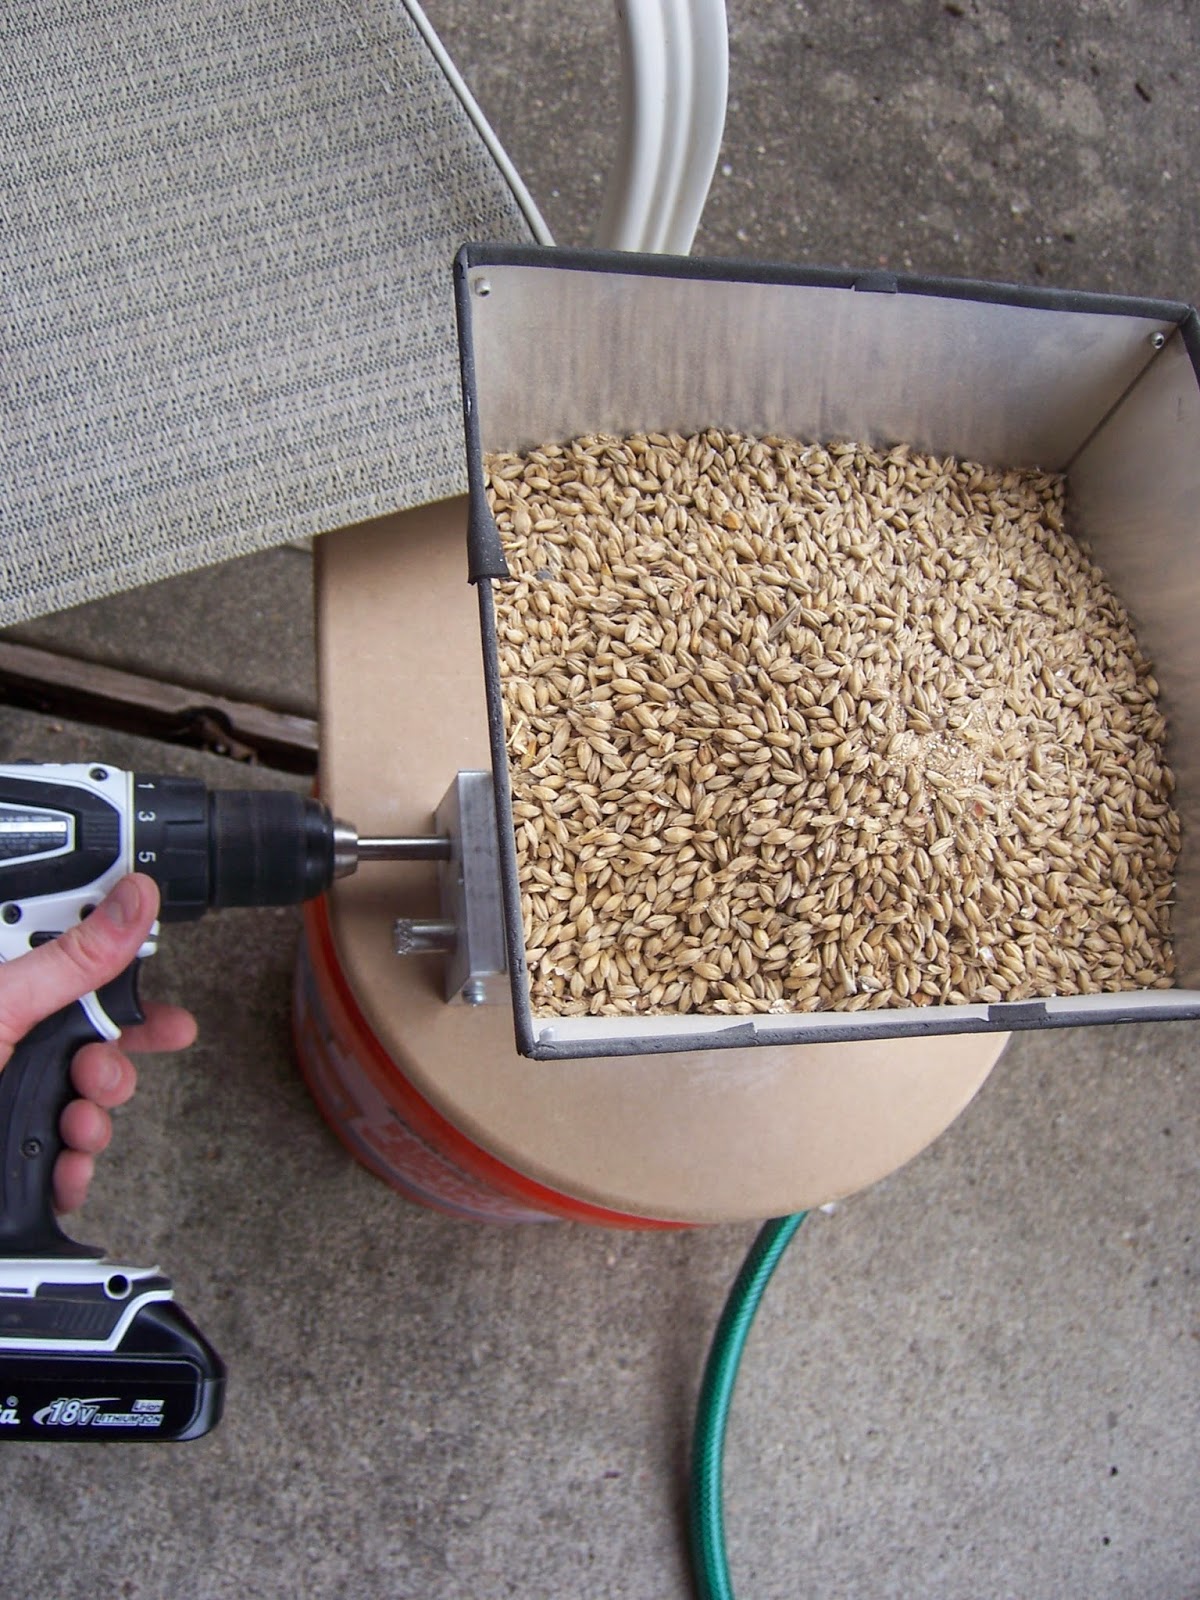
I usually get it crushed at the store but this time I borrowed Brady's grain mill, 
Broken husks and crushed endosperm
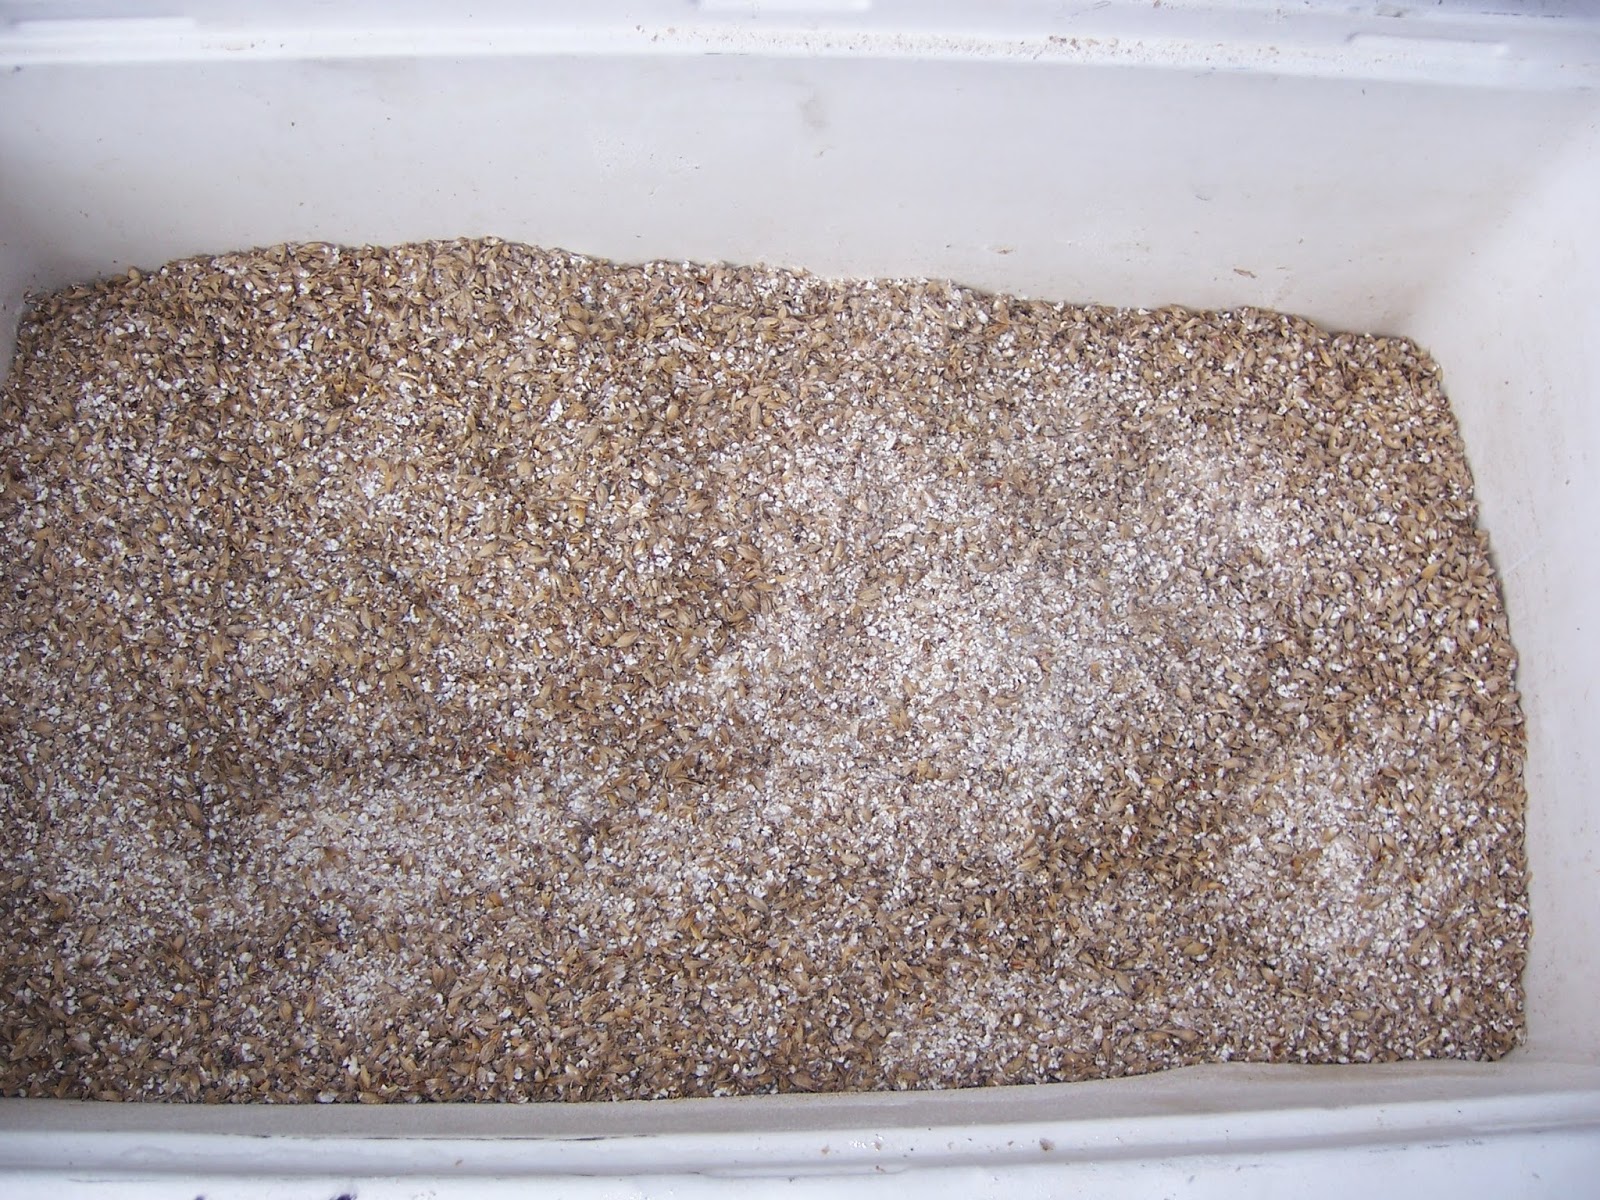
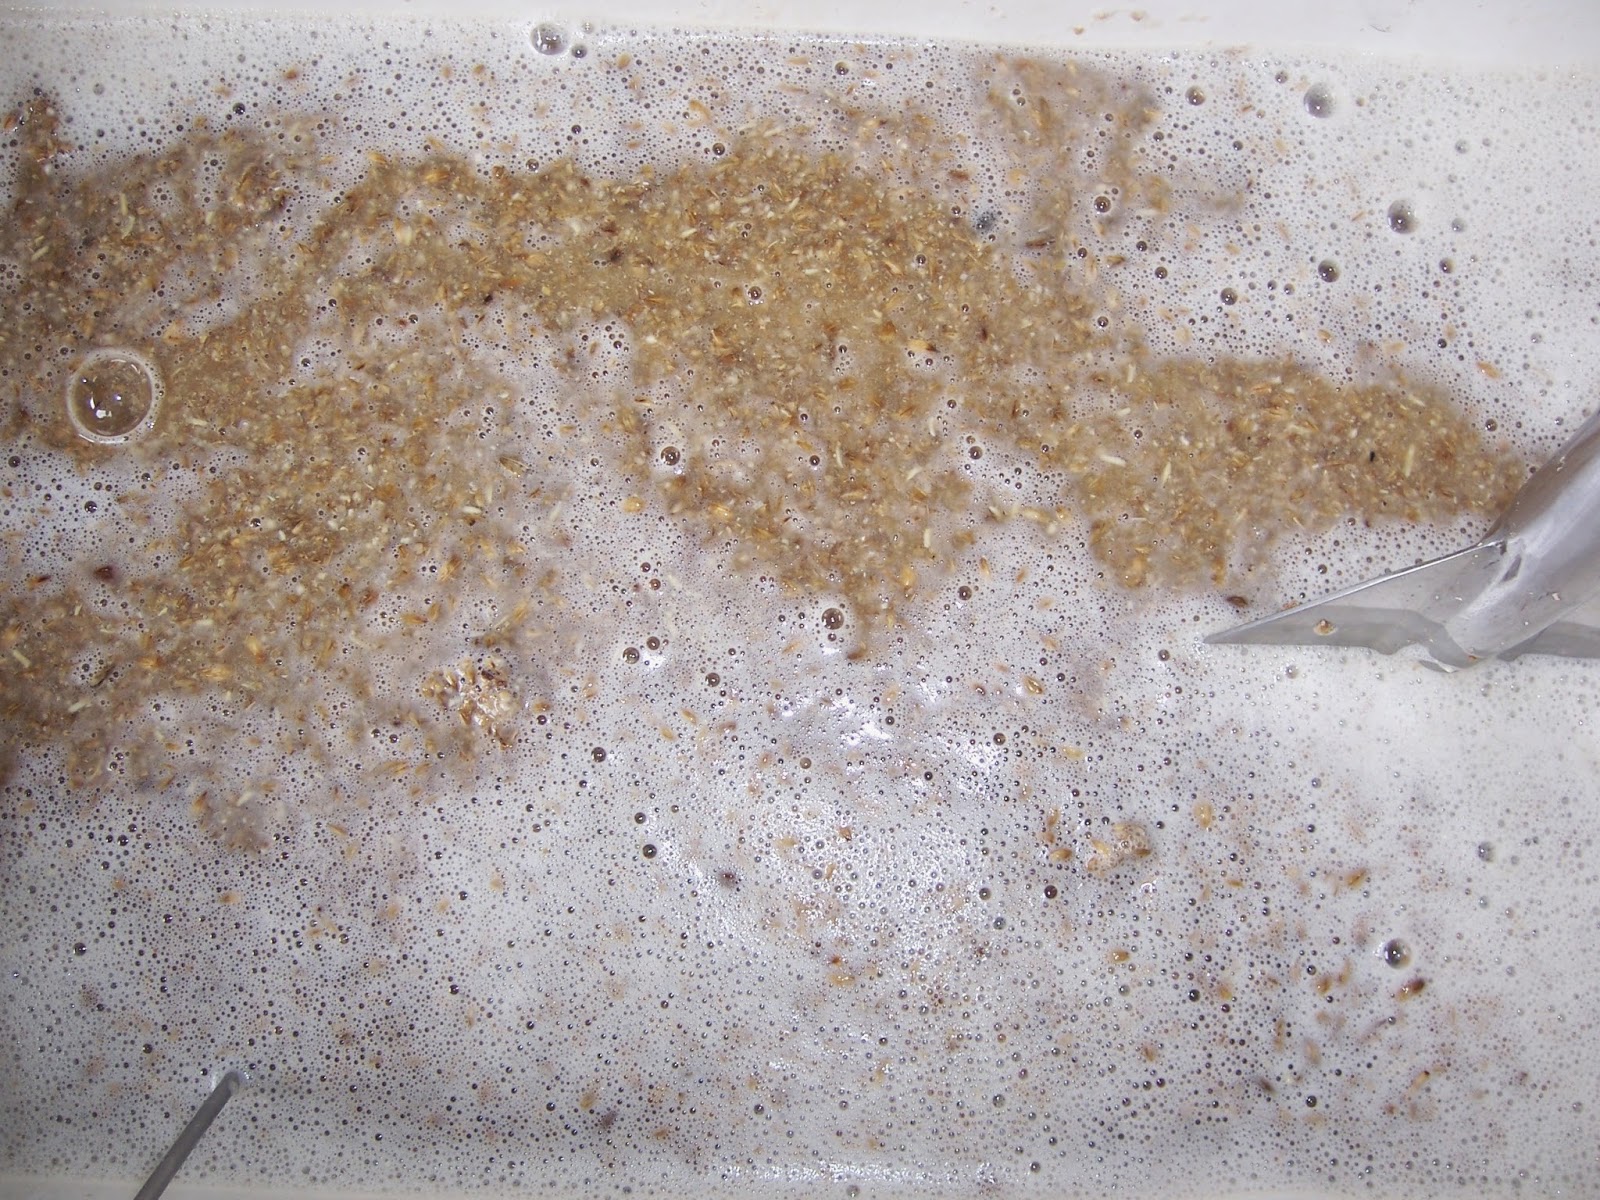
I put the grain in my mash tun, which is a cooler with some slotted copper pipe at the bottom.  The pipe lets the sweet liquor through, stopping the grain.

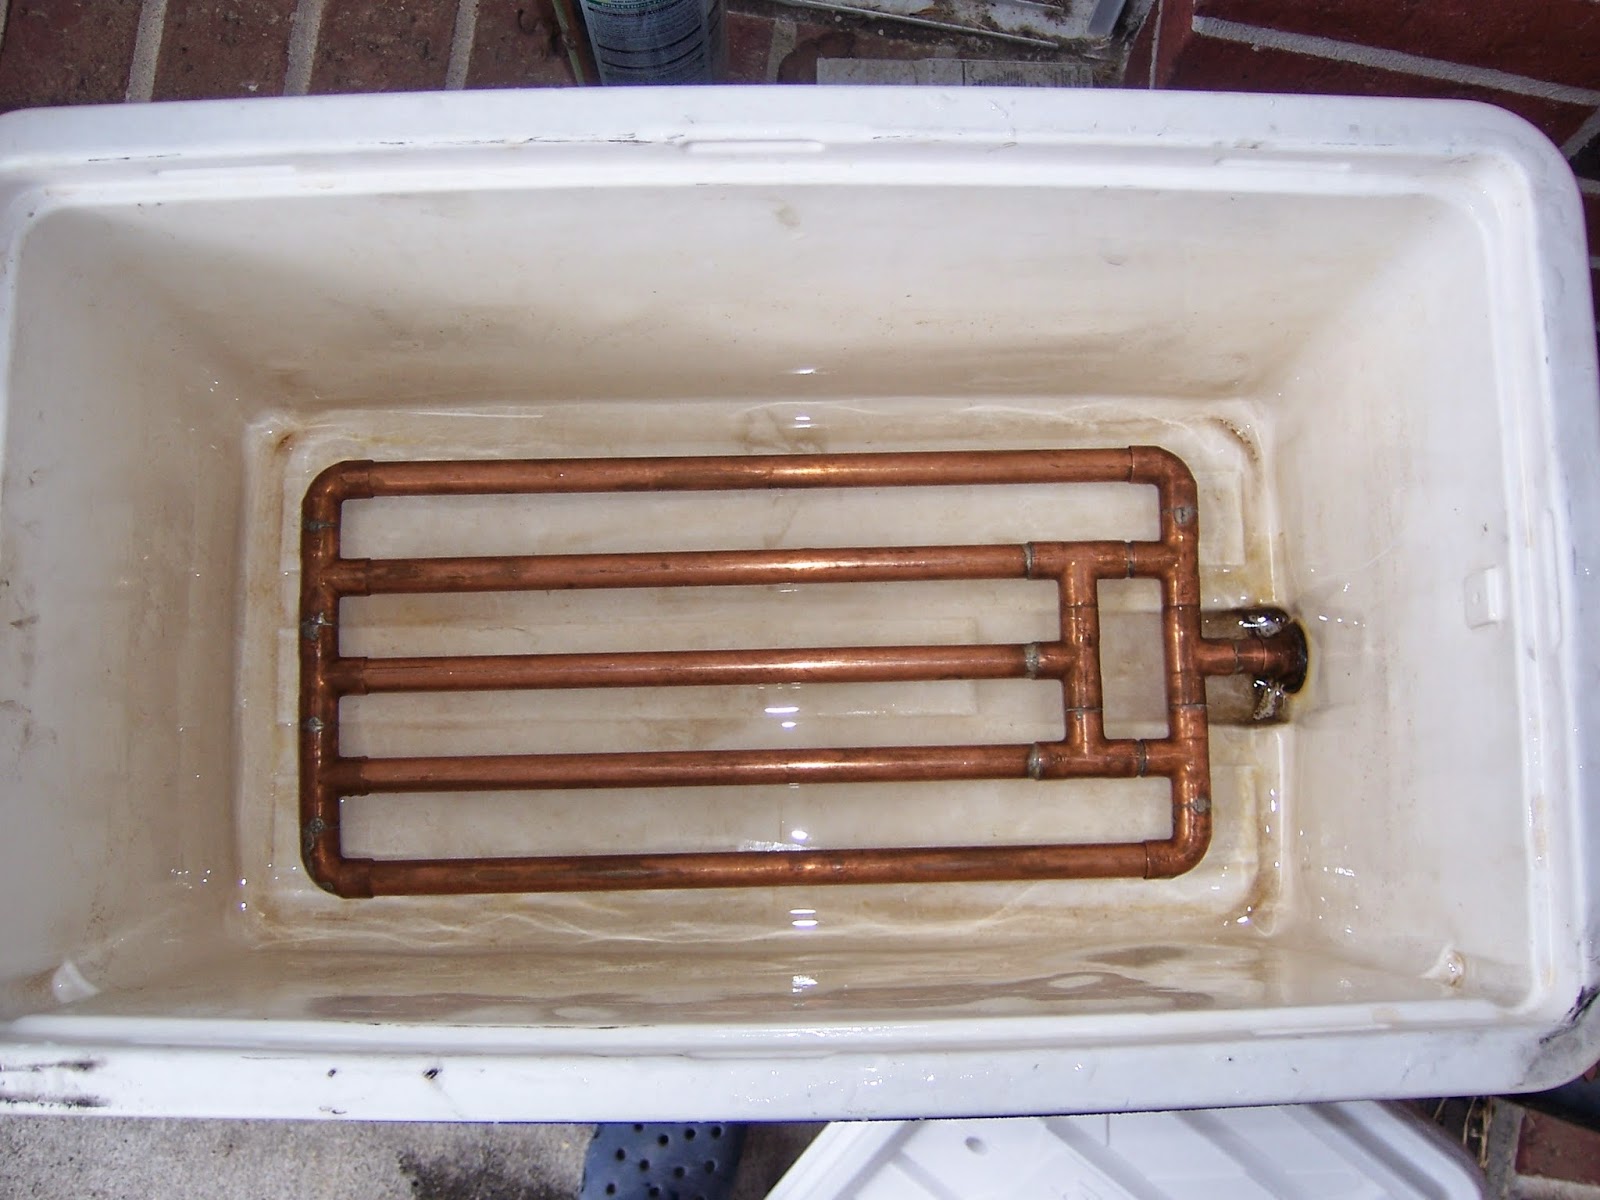
The slots are sawn in the underside of the pipe
Add some hot water and let it  soak at 153 degrees for an hour to convert the starch to sugar.
This smells great, by the way.
I batch sparge my beer, because I haven't figured out and made a fly sparging apparatus.  So I drain all the sweet liquor and then pour in some 170 degree water to basically wash the grains of any remaining sugars.
The first few liters is usually cloudy so I pour that back in, and then it pours clear.
Now boil for an hour or so, and add hops at whatever your recipe calls for.  When added earlier in the boil, they add more bitterness, versus later, which tends to add more aroma.
This also smells fantastic.
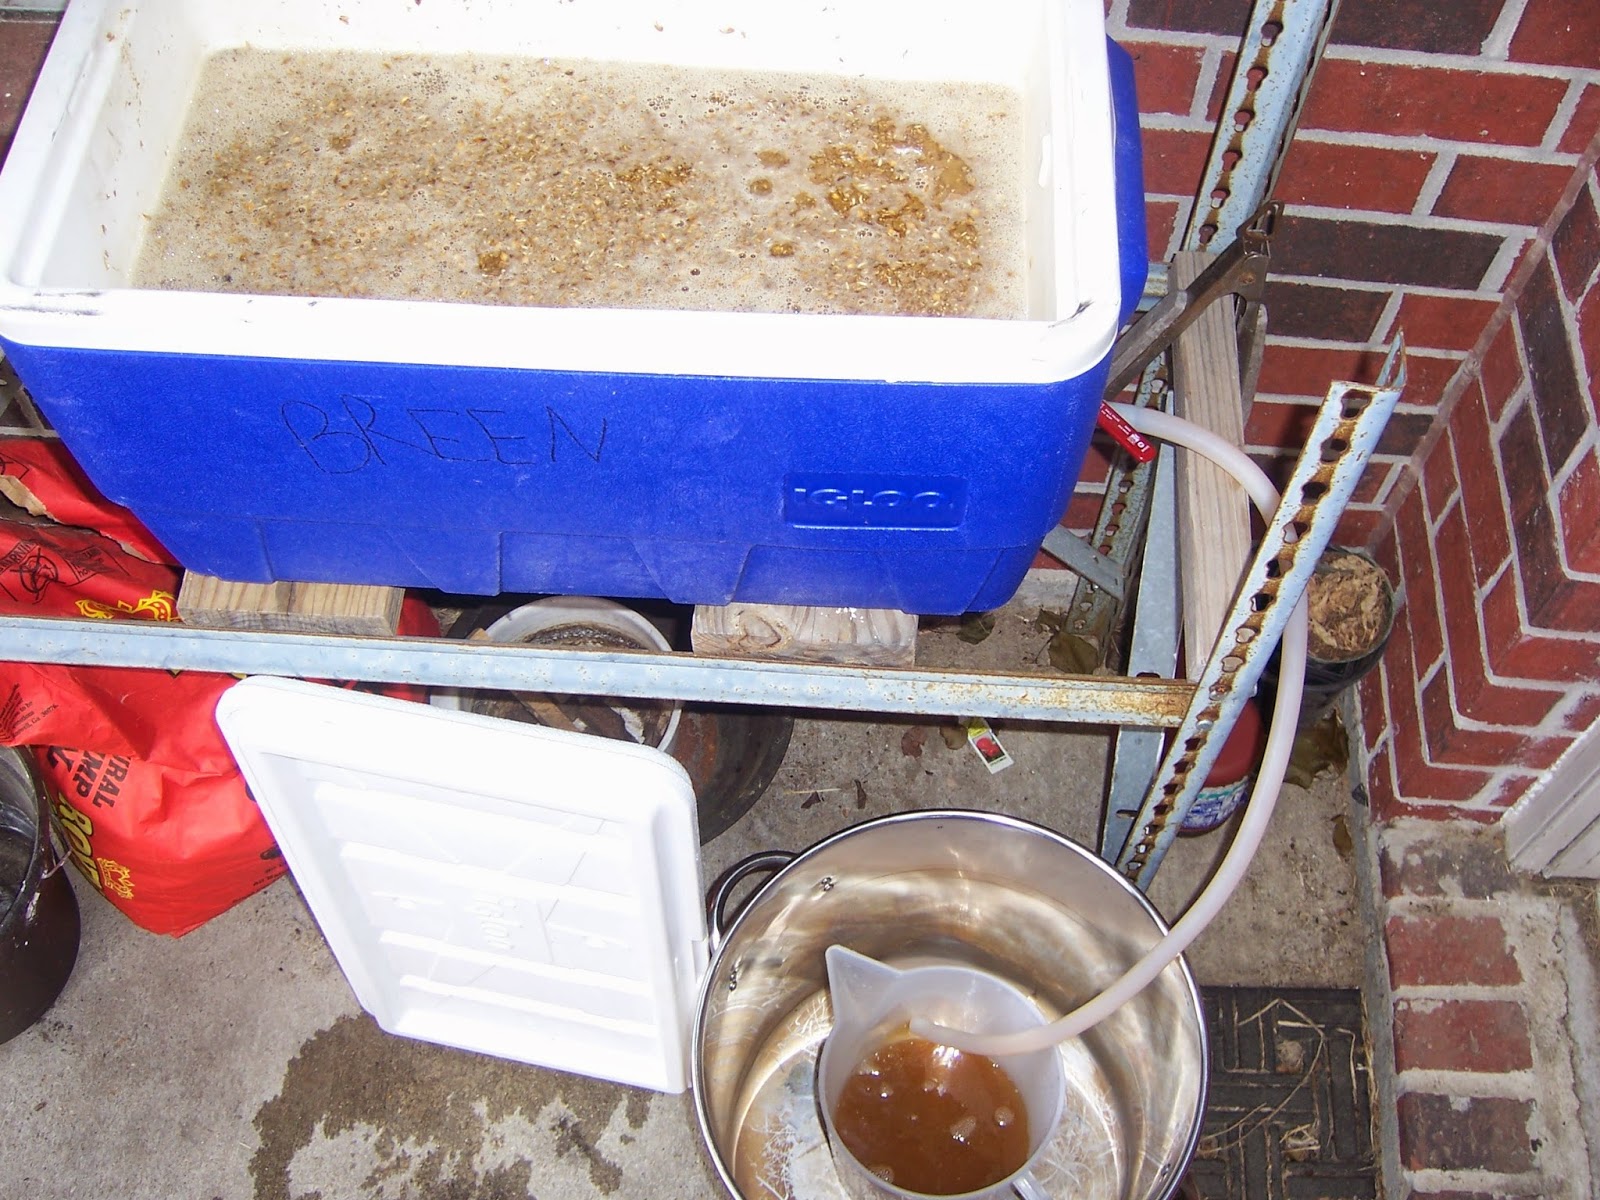
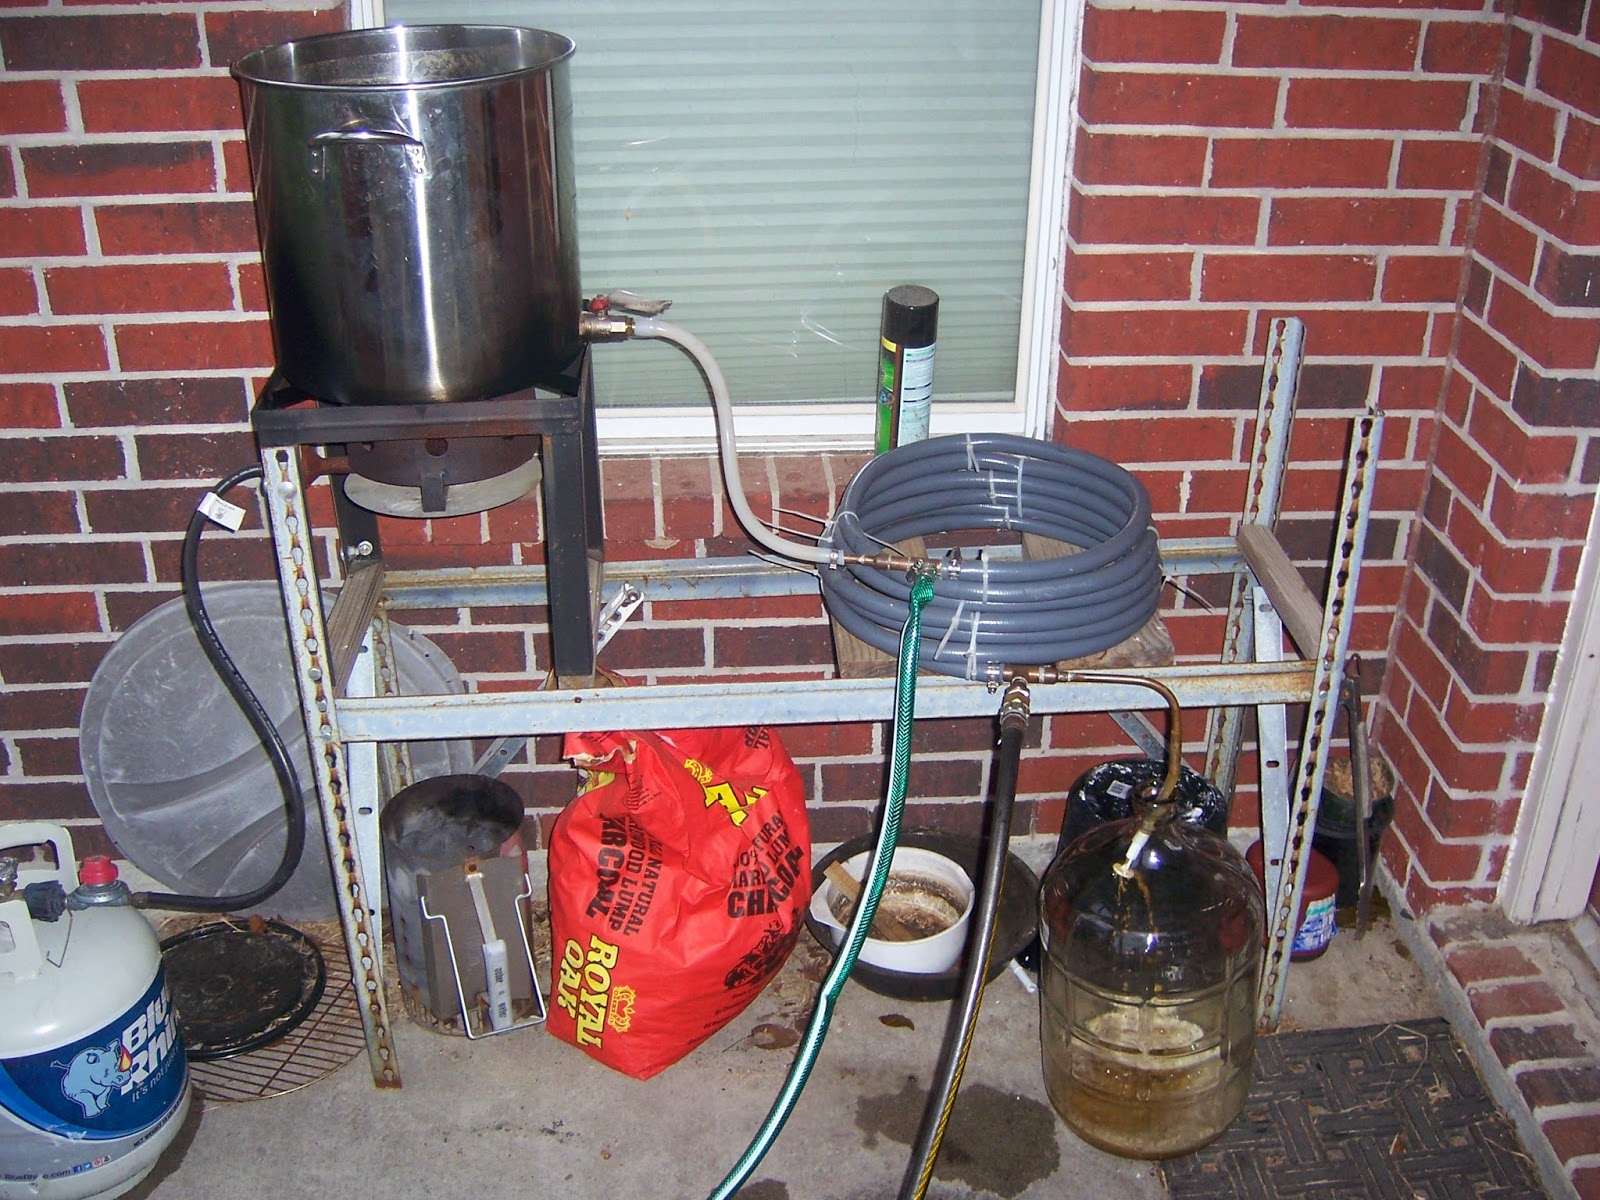
This needs to cool to somewhere between 65-75 degrees before the yeast are added so they survive.  To do this I made a counterflow wort chiller.  It is 25 ft. of copper tubing with some solid core wire wrapped around it (and soldered in place) inserted into a garden hose.  The wort flows through the copper tubing, and then water flows between the tubing and the hose in the opposite direction.  The wire helps disturb the water flow, so that its not always the same water in contact with the copper tubing.  This allows me to open the valve on the kettle all the way, and as the wort drains into the carboy is is instantly cooled to whatever the water temperature is ~70.  It takes about 10 minutes to transfer.
Draining and cooling the wort.
Next is to add the yeast.  I like to transfer the beer from one carboy to another after about 3-6 days.  Then it sits in the secondary for the remainder of 2 weeks, or whenever I get a chance to keg it.
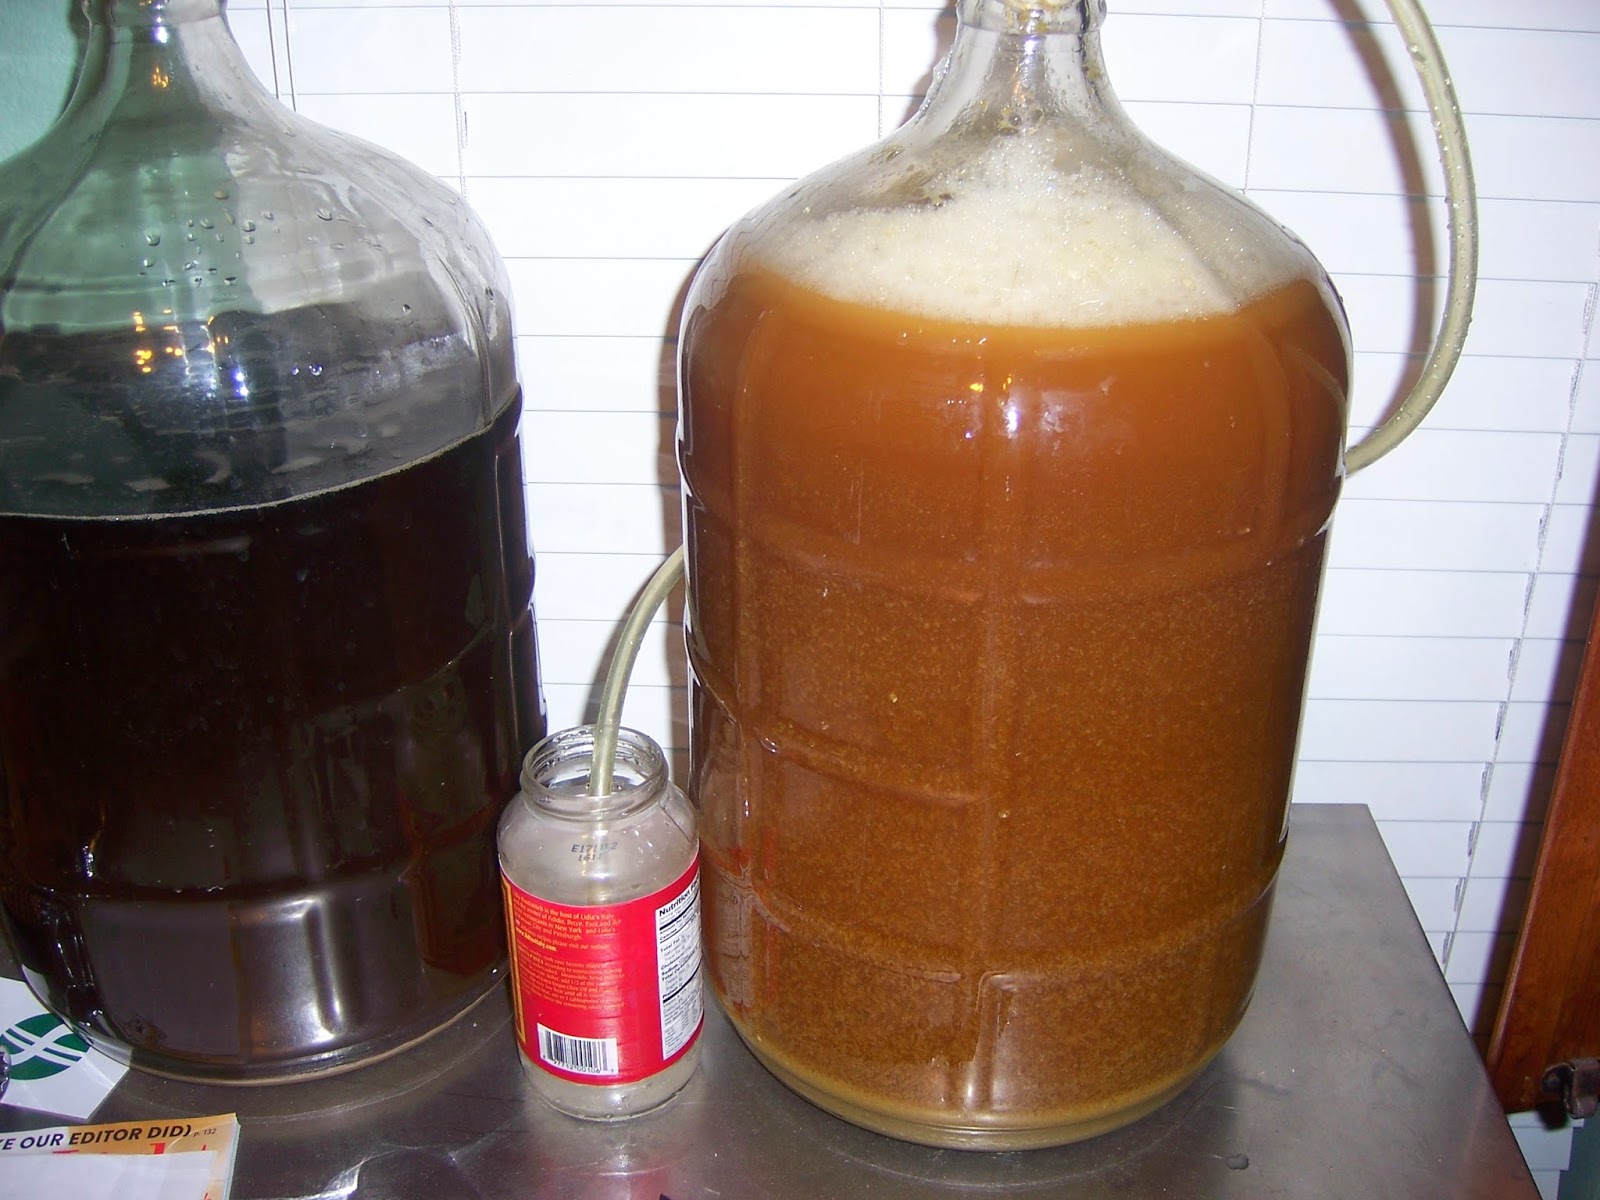
Just a few weeks till beer.
My process and equipment isn't the prettiest, but it brews a good beer, and I have gotten it down to where I only need to check on it every 20-60 minutes depending on where I am in the process.  From heating the water to putting my stuff away takes about 4 hours.

Monday, April 7, 2014

Rocking Chair Finale


Last week I made a concerted push to finish the rocking chair.  After gluing the arms I cleaned up any glue at the joints and then sanded everything one more time.  The finish is the same as is applied to the stool.  Vintage maple transtint, oil then shellac.  I wiped on the dye and oil.  
The oil really made the figure in the arms pop.
Set up for shellac
Then I decided to spray the first coats of shellac and just wipe on the top coat to even things out.  This greatly reduced the time spent applying, and I still ended up with a smooth finish.  While applying the finish to the chair I wove the seat of the stool.  Which is the same process but much less complicated than the chair described below.
Completed stool

I put on the last coat of shellac Saturday afternoon, and then decided to finish a bowl I started a few months ago.
Just starting the inside, hopefully the bark inclusion is stable.
I also found some time to brew a beer.
Belhaven 60 clone
I also started milling the wood for the sideboard/changing table.  For rough sawn wood from a store my process is similar to the reclaimed process except its faster and easier on the tools.  First cut to rough length.  Using a jack then a jointer plane get one face to sit flat on the bench.  Joint an edge, then head to the planer and table saw to bring to ~1/8" of final dimensions.  I don't worry about thickness, just send it through the planer till both sides are planed everywhere.

Cherry prepped for sideboard
Sunday morning I waxed the chair and started weaving.  Trim the foam to fit inside the chair frame, and nip the corners to make sure they don't show.  The first part is called the warp.  This runs front to back, and should be the dark colored tape since it will look less dirty.  The main thing here is to keep it nice and firm, but not so taught it bends the front rail.  I also checked to make sure the top was square to the chair.  Try to fit as many rows as possible without overlapping the tape.  To fill in the triangular corners use some small pieces and tack them as far back on the underside of the rail as possible.  Insert the foam.  Now its time to weave the woof.  Tack one end in the middle of the back rail under the warp.  By putting it in the middle you account for the slant that is required to advance to the next row.  The bottom of both the warp and the woof are tilted slightly but the top (show side) is square.  I wove the woof all the way through to the end, and then I realized that it was starting to slide toward the back of the chair.  To remedy this I added some double stick tape to the sides of the rails, to prevent the woof from sliding back.  I loosened all the rows enough to get the (sticky) tape in, then pulled the woof tightly securing it against the tape.  Don't forget to use your fingers to push/pull each row of the woof tight against previous row before sticking it to the tape.  Again this should be really tight, and towards the end is pretty difficult to pull through, and tighten.  I ended up using surgical clamps to help weave the tape.  This makes a nice firm seat, that I am sure will sag slightly over time.  Finally at the end make sure the woof is tight, and its not possible to get one more row in....and tack the woof under the warp on the bottom of the front rail.  Here is a bunch of photos showing the process

Sizing the foam
Tacking the warp
Wrap the warp
I used vice grips (lightly) to hold the warp in place as I tacked it in
Squaring up the warp before adding the filler strips
Add filler strips to each side (and trim)
Top view of the seat with filler strips
Don't forget to add the foam
Separate the warp and tack the woof under the back rail
Using a needle made from splat scrap.
Halfway there
Adding tape to reduce the sliding.
By the end of Sunday I had completed the chair, and bowl, and got a good start on the sideboard
Ready to use
Showing off the arms
This chair rocks!(...really can't believe I waited to say that till the end)
(also not a hipster haircut...sweaty from weaving, cause that sounds better)
Completed maple bowl (a well used cutoff from my workbench)

Wednesday, April 2, 2014

Rocking Chair: Part 2

Monday after work I started on attaching the rockers.  These are attached using a pinned bridle joint.  I drew a line that passed through the center of the front and rear posts using a yardstick, then using dividers set to half the thickness of the rocker marked one side.  I then positioned the rocker on the posts and scribed the other side using an old planer blade since I couldn't get my marking knife flush with the rocker.  After that I drew some lines along the post to help my sight vertical and cut each side.

Then using my 1/2" mortise chisel bashed out the waste.  Then I used a rasp and a float to finesse the fit.  The rasp was great at taking off a lot of wood, and is nice and wide providing a nice flat surface, however due to the diligence of the Frenchman that peened it, it does not have a safe edge.  To get into the bottom of the mortise without messing up my square baseline I used my Iwasaki "rasps" which I use as a float, which does have a safe edge.  After the sides of the bridle matched the rocker, it was time to see how it rocked.  I was surprised at how much it reclined in use, and by moving the rockers forward and backward I was able to find the "sweet" spot, that make it feel a little more stable.  Due to the shape of the rockers the mortise in the front posts need to be undercut pretty significantly, and the floor of the rear posts need to be slanted.  I used my paring chisel for that.  Once the rocker sat flush in the joints I drilled a 5/16" hole, and glued and pinned the joints.  It's important to think about where to apply clamping pressure.  In the case of a bridle joint, you want to clamp it so that the tenon gets squeeze between the to walls as shown below.


Tuesday I started cutting the joinery for the arms.  The arms are attached with a 3/4" round tenon at the front post, and a 1/2" round tenon into the rear post.  I transferred the distance between the center of the front post and back post and marked that as the shoulder for the arm.  I cut the arms 1/2" longer than the shoulder to allow for the tenon.  I cleaned that up with a block plane then used a compass to draw a 1/2" circle (in my case slightly larger).  I cut down to the shoulder using my dovetail saw. Then cleaned and fitted it with a rasp.

Scored shoulder and slightly oversized tenon pattern.
Cut to the lines.
Remove the waste.
I drew a small circle inside to help keep things round.

As I got closer I used a setup block to test the tenon.
Nice tight fit.
Testing the fit at the shoulder too.

After I was satisfied with the test fit I bored the hole in the rear post and tested the fit in place.
The shoulder gets a slight curve to match the post
Finally I drill through the back to accommodate a screw (this will get a plug later), and clamp the arm to the rail to keep the front joint flush.
Arm in place
All that's left is to make sure I didn't miss any glue before applying the finish

Watching glue dry