Monday, December 21, 2015

Nakashima Inspired Table (pt. 2)


 The only way I could think to do the miter was to get it close, then finesse it to perfect using a hand plane (Low Angle Jack being the weapon of choice).  To make it easier on myself I decided to make a single purpose Donkey's Ear type planing jig.  I thought about making a generic one, but I don't see needing one 18" long and 2.5" thick in the future.  Of course first I needed to cut some miters.  For the top and bottom pieces (45* on the long edge) I used cutoffs from my french cleats which I triple checked for 45.  For the end pieces I thought about just setting my miter gauge, but 45s are something I could see doing more of so I decided to make a dedicated sled.  I liked the picture frame sled from FWW a few years ago, and its use isn't limited solely to picture frames, so I made one of those:
I put this off for far too long
And since I had some walls that needed posters, and posters that needed frames, I tested the sled a few times.  Which required a spline jig.
Nothing fancy but it works well.
The posters definitely improved the feel of the shop.

Not in love with this wall, but the posters help.
I still have 2 more posters, and wall space for more french cleats, if I can figure out what I want to put on them.  While I was distracted I figured I might as well finish that Longworth chuck I started a few months ago.
Not the prettiest but it will work.
And finally I got back to the coffee table.  I cut the 2x4 to thickness and screwed together my planing jig.
Time to make some shavings.
After getting close it was clear that hte jig was bowing a bit due to the clamps being located at the very edges.  I added a little pressure to the middle and cleaned it up.
Almost there.
As I was finishing up the first side I realized that I needed a way to reference the jig if I needed to trim it up again.  I started by just drawing a line, but even that didn't really sit well with me.  I ended up ripping some thin strips and using 2-sided tape to create a solid reference surface for the back of my jig.  Then I did the other side, and tested the fit.  At first I made used plywood to make an "inside corner" that sat on the outside of the joint, and it was easy to see how far out of 90* it was.  It wasn't.  However it prevented me from seeing how the edges met.  After some thinking and very careful maneuvering I was able to look at the outside of the joint.
Testing the fit
Pretty good
Overall the joint was pretty tight.  But after a bit more fussing I realized that the wood had cupped every so slightly.  Over 18" (then double since both the top and the leg cupped) ever so slightly isnt good enough.  Luckily I left the reference boards in place and was able to take the cup out where the jig attached.  It was probably no more than 4 passes with the plane and the joint closed up along its length.  To mortise for the tenons I need to create sort of a box joint jig.  Luckily I can use my reference strips to align the box joint jig.
Nothing fancy but it worked well.
 This was one of the few operations for which my shop struggled.  I have all the tools, and skills, the problem is the bench is in the wrong room.  I tried clamping the table to my other workbench  and hit a wall.  I tried to attach it to my table saw, but the clamps didn't feel as solid.  In the future I will look for ways to add some clamping surfaces in the machine room (though this is a fairly unique project). The only trick is making sure you flip the pattern over when routing the other side.
Alignment looks good.
 Then I just cleaned up the edges with a chisel.  Since my mortises weren't all exactly 1/2" wide, and also probably varied in length just a little I cut the tenons a little over sized ~1/32".
Ready for fitting.
 First I planed them to thickness (starting with the widest going down from there).  Then the mortises and tenons were all labeled.  I decided to alternate grain direction, though I can't image it makes any difference.  I trimmed them at the shooting board.
The first five have been fitted
The first test fit went pretty well.  Nothing bound, , but one corner didn't close.  Since I knew it fit before the tenons, it was a quick diagnosis (a few tenons were just a little oversized).  After trimming them at the shooting board all was well.

That was the first of many test fits.  Eventually I came up with a system that was fast and safe enough to actually add glue.  Then I took a breath and slowed down.  I organized my clamps, swept the floor, gathered some scraps and cauls, got out the gloves, pre-ripped some paper towels and covered my bench with wax paper.  I consciously spent time prepping for the glue up.  I recently started doing this when faced with something stressful/irreversible, and I find it helps me relax and makes the process much smoother.  Finally I stopped putting it off, and did the glue up. 

Overall it went well.  It could have been a bit smoother, but the miter looks pretty tight, and its square.  In a day or so I'll take off the clamps, and hopefully no surprises.

Tuesday, December 8, 2015

Nakashima Inspired Table (pt. 1)


With Ian running around our glass top coffee table was destined for a short life.  In September we took a drive out to Dunlap Woodcrafts.  This is not your typical lumber store.  You will not find piles of 4/4 FAS boards.  What they do have is thousands of bdft of flitches burls, and big unique lumber.  While Ian played with the proprietors I was looking for the right slab to take home.  We found one, and it spent a couple months leaning on a wall in our living room.  For those of you following along, I have been busy building other things most recently the Woodworkers Fighting Cancer table and chair set, and a growth chart.  More information on WFC can be found here.
While he didn't know what to think at first now he loves his chairs.
I carved then painted the numbers.  Used a plane after to remove the sloppy paint.  Pine with a coat of shellac.
Part of the delay was necessity and part(most) was not knowing what I was going to do with the legs.  Last weekend I decided to grab some 2x and mock up some ideas:

Classic Nakashima style with slanted leg.
More modern, waterfall leg, and open trapezoid for the other leg
Once we set up the slab and looked, the waterfall/trapezoid won.  Those legs made the slab look lighter and seemed to flow with the room.  The waterfall leg will be a challenge.  After going back and forth I think the best way to reinforce the miter is to make "Full-Blind Multiple Splines".  This provides the most face/edge grain glue surface.
From "Tage Frid Teaches Woodworking: Joinery"
The miter requires that the piece be jointed and thicknessed prior to layout.  Even if I had a jointer, it wouldn't help me on this one.  So time to get out the jack plane and go to town.  Using my bench as a reference surface it had maybe a 1/8" of twist.  A few hours later it was trued up,

Start by marking the high spots.  
Almost there...
After I got the the board planed it was time to commit and make some cuts.  These were done with a circular saw out in the garage.  First I made 90* cuts to separate the top from the leg, then cut the 45* angle.  With the blade tilted it didn't cut all the way through, so I finished them off with a hand saw.

Double check everything.
No going back now
I finished this with a handsaw
This is the way it sat for a few weeks while I made my 45* table saw sled, (tested it on some picture frames) and a reference jig for truing the miter. 

Wednesday, September 23, 2015

Birthday Gifts

This time last year I was just starting to gear up for the crib.  I never made it.  Ian came a bit early, and now I have a bunch of 6/4 cherry, but that's a problem for the future.

This year I had some birthday requests.  As soon as my shop was setup I started making Ian a set of blocks.  I based them off of Unit Blocks available from different places.  The idea is that 1 unit is 1 3/8" x 2 3/4" x 5 1/2" (nominally 1x2x4).  The rest of the blocks are based on those dimensions.   There isn't much to building them, just cut them out, and plane or sand (I planed the faces and sanded the corners).  Any non-90 degree cuts were roughed at the band saw and then cleaned up with a plane.  I finished them with an walnut oil carnuba wax blend.  It gave them a fantastic feel and nice color.  It is safe for mouths, and easily repaired.  Ian is a bit young to be building with them, but he will gladly knock over any tower we make.
This fort didn't last long once Ian woke up.
The completion of blocks created another problem; Ian's toys had taken over multiple rooms.  To help remedy that I built a toy chest.  This was a pretty simple build; just dimensioned poplar and plywood glued and screwed together.  The finish is chalkboard paint and milk paint.  It was a quick, fun project, and a good way to test out the new shop space.  I did splurge on the Rockler torsion hinges, and they are well worth the investment.

Ian thought some of the screws could use a little help.
With his birthday out of the way I got back to organizing the basement and found one box of beer glasses that hadn't been unpacked.  Since we ran out of room in the kitchen I made some quick floating shelves out of some oak scraps I had laying around.  I sank some 3/8" rod into the studs, then marked the boards with those locations.  I had to use a slightly larger drill bit on the boards, but they fit snugly and aren't carrying that much weight.  During a test fit, they didn't look the way I wanted so I added a bevel on the edges.  I finished them with a quick pass of a smoothing plane and a coat of danish oil.

Nothing special but they work.
While none of these projects were very challenging, the items were needed and it was a good way to test the work space. The shop space works well, and is by far the nicest space I've had.  The only problem was the lighting in the hand tool area.   That was a quick but much needed fix.

The two new lights throw plenty of light on the work surface.

Monday, August 10, 2015

Shop Progress

 Somehow between a baby, a full-time job, and new old house I found some time to make progress on the shop.  Over the 4th of July I was able to clean/organize the garage and basement, enough that I could disassemble the table saw cabinet/bench and rebuild its base (after ripping a bunch of french cleats).  This went smoother than I thought, though I now need a new screw extractor, and sawzall blades (someone used cheap screws and left broken drill bits in the wood).  I was able to rotate the caster mounts which provided enough clearance for 360 rotation.  I tried adding some Spax screws to hold the MDF platform to the maple frame, but it never gave me that warm fuzzy I was looking for, so I glued and screwed a sheet of plywood on top of the MDF and it was solid.  The only downside was it raised the table height 23/32" and now that the base was flat and not flexing, not everything lined up "perfectly" on top.  I reassembled it inside the power tool room, and all is well (though it does take up quite a bit of room).

Back power tool wall after cleaning and cleats.
Hand tool room after some cleanup
Then I took some time off from house/shop work.  The last weekends in July I finally came up with a wiring plan I liked, and ran the 350 ft of wire to provide separate circuits to the shop.  Right now I have 3 separate 120 V lines, and 1 dedicated 240 V for the dust collector.  If/when I get a bigger planer/saw/something  I will just swap out the breaker and the outlets on the red circuit for 240 V.
The plan.
3  in the shop (the 4th is hiding)
4 circuits at the source
I then spent a few weeks hemming and hawing over how to run the ductwork for dust collection.  The last time I hung duct work was in Houston after I had an established workflow.  This time I need to get the dust collection up and running before working on any projects (except for this shelf):
First woodworking project in the new house.  Yes, it's just a planed cherry board.
Eventually I came up with a plan that didn't require purchasing extra fittings, and would allow for 6' boards to make it through most machines without too much reconfiguring.  It isn't a perfect setup, but it will allow me to get working, and will evolve as my shop does.  Now the shop is ready for use, and I even have a month to make some birthday gifts for Ian; some blocks and toy chest.

Handtool/lathe area with door to machine room.

Dust collector, clamp rack to be improved.
Planer, tablesaw and air cleaner.
Other side with bandsaw (drillpress is on the floor for now).
Looks like I need to make Ian a bench too.

Monday, June 15, 2015

New Shop (almost)

The first weekend in June my dad helped me move all my shop stuff from the 1 car garage in the rental townhouse, to the basement of our new house.  This was no easy feat, and I am very grateful to him for helping.

This will be the first time my shop is inside.  Like everything there are pros and cons.
Pros:
  • Climate controlled
  • Laminate floor (would prefer hardwood, but it's better than concrete)
  • I might actually see my family while in the shop
  • Less rust
  • More walls
  • Two rooms (hand and machine shops)
Cons:
  • Must be diligent with dust collection
  • Need to run a few extra circuits through finished walls
  • Could be noisy in the rest of the house
  • Less lumber storage (likely in garage)
  • Can only spray in garage (though this could also be a pro since it could be thought of as a separate spray room)
  • Current table saw bench doesn't fit through the doors (though I need to rebuild it anyways since the casters can't swing fully)
Luckily I thought about most of these before purchasing the house.  My dad brought back my Oneida cyclone which he was kind enough to store and help install.  The shop will be furthest from the bedrooms, and there are doors that can be upgraded to provide some better noise/dust control.  I can free up 10 slots in the breaker box, and I can see where to route the wires about 90% of the way.  I will have to be careful with lumber purchases but an oversized garage and lumber stores open on the weekend will help.
Hand tool room.  Roughly half of 17' x 17'
Machine room (11'x16' and really hard to take a picture)
Okay, so the ceilings are 7'8" and my dust collector is 8'... nothing's perfect.
While I would love to spend two weeks getting the shop all setup and ready to go, I have a day job.  Oh and a house that needs new lighting fixtures, a bathroom fan, and a handful of other projects.  Progress on the shop will be slow and steady, but now there is light at the end of the tunnel (behind all the boxes).

Friday, April 10, 2015

Cold Weather Ramblings

This entry was supposed to be posted back in February when it was cold, but I got distracted so its a bit late.  Now that we are under contract on our new house, my desire to get in the shop has increased once more, as there will actually be a place for my furniture to live.  Maybe my slump was just due to not having the need or room for additional furniture.

Now that I have moved a few degrees North the garage shop is not as sublime in the winter.  Luckily I have been able to do something productive with my time.  Since my lathe is inside, I continue to rough turn some bowls from the wood I picked up last month.  The cold has thankfully kept many of the blanks from checking, so I can take my time.  I had a chunk of pear I saved from my friends tree.  I figured that was dry enough to finish turn.  It checked more than I thought it would have and resulted in kind of a bowl on a stand.
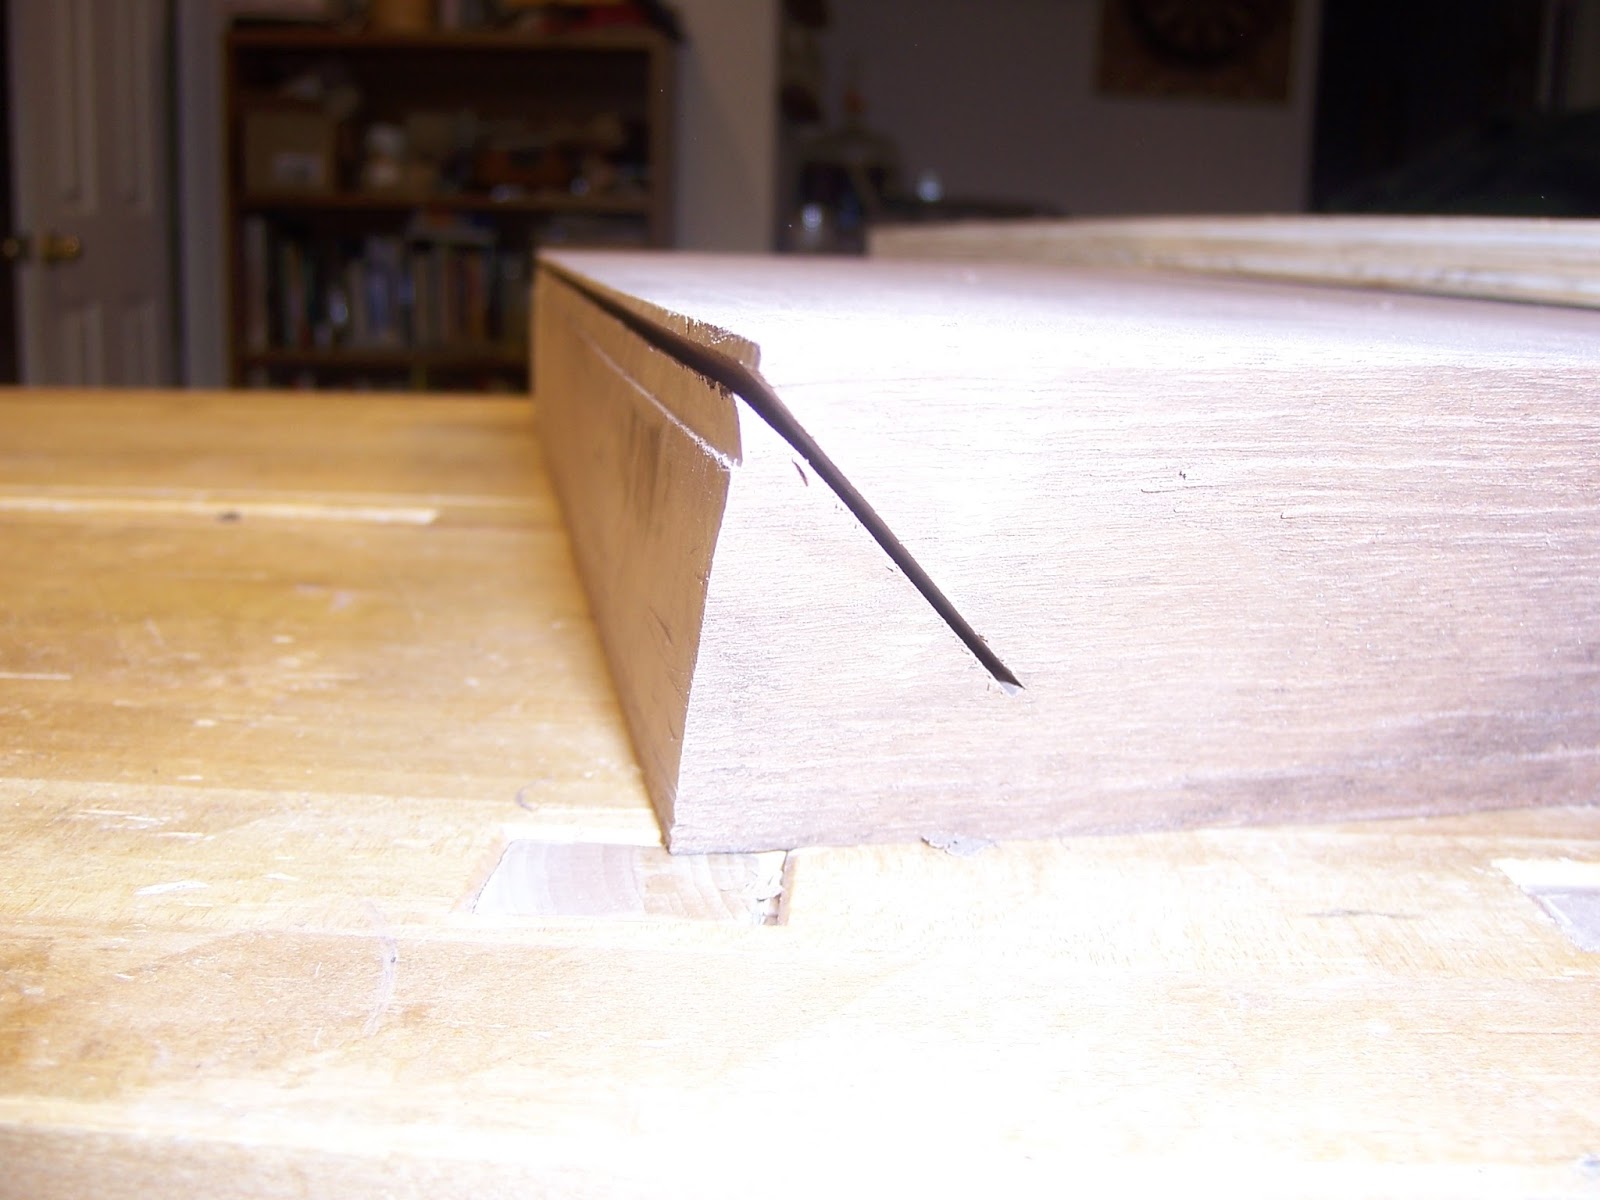
Small pear bowl.
This last weekend we went up to Baltimore to the American Craft Council show.  It was a lot of fun, and was very inspiring to look at the work of some really great woodworkers and other artists.  By far this was the most impressive art/craft show I've been to, and we are already planning on making the trip up there next year, but we will take the weather forecast into account.  Brian Boggs was there and it was truly inspiring to see the level of craftsmanship and eagerness to share his wealth of knowledge.  I got home and reread his magazine articles, and watched The Woodwright's Shop episode with him.

While I still have lots more blanks to turn I really think of turning as a side interest to furniture.   So I decided to start tuning up some tools.  My hollows and rounds were sharp, but some (many) irons did not match the plane soles, and my sharpening skills have improved, so they were the first to go to the stones.  I also tuned up an interesting copper/brass soled skew rabbet plane.  All of this in preparation for making some mouldings for picture frames.

Something I have been thinking about since starting the Krenov-inspired table is skills/wood/deliberateness.   I love happening upon the perfect piece of wood.  As my skills improved (through practice) I began focusing on the grain, and which piece of wood was best for what part, and making the piece flow.  While I don't profess to be great at it, finding the right pieces for the sideboard was enjoyable, and I think the attention to that shows now that it is completed.  I tried to do that with this small table, and succeeded in someways, and there are other parts I wish I could switch for something else.  I can blame it on my short supply of maple as opposed to my ridiculous shop supply of cherry in Houston.  But I think the real reason is I got to a point and said enh, its good enough, or I rushed.  I got tired of one step, and just called it.  Now that my time is in shorter supply,  I made concessions  that I wouldn't have previously.

Additionally, taking the 6 months or so off was detrimental to my skills.  I can still cut a decent dovetail, but its not as tight as it used to be, and the chisel doesn't fit as perfectly in my hand.  So each task/process/joint took longer than I thought it should.  My shop is just as functional, but I don't have a defined workflow anymore, adding to the feeling of taking longer, and more out of touch with the work.  I also fell back into the habit of working with not quite as sharp tools, since my sharpening stuff isn't out all the time.

Eventually we will move and my shop will evolve, my workflow will be reestablished, and hopefully improved.  Until then I have to wade through an endless supply of project ideas, and questions.  Do I work on small "throw-away" projects designed as skill builders?  I would love to do that, but then I'm not making anything, one of the fundamental reasons I enjoy woodworking was that there was something tangible and useful that comes from my creativity and work/time.  For many other goals/hobbies, practice is essential, you don't become a great musician by only performing, and you don't run a marathon runner  by only racing marathons.  You take your time, practice and build up to those goals.  So why is woodworking (or any craft/art) different?  I bet Brian Boggs has cut more joints that were tests/practice than he did joints in all the chairs he's made. I would love to obtain that level of craftsmanship.  How do I get there? Do I just toss any piece that isn't right?  I guess I could save it and use it to test for next time.  Do I only accept the absolute best?  If I do will I ever complete the list of project i have made? Do I want to improve/work on techniques; hand tools or turning or just complete a project. Its easy to become an overconsumer of information, or even of inspiration.  There is an endless supply of projects I would like to take on, and the preference depends on the mood/time etc.

Is it the journey (process) or the destination(product)?  Obviously it doesn't have to be one or the other.

Thursday, January 29, 2015

Krenov Inspired Table

The canoe rack went pretty smoothly, and I basically forgot to take pictures till the end.  The rails are half-lap dovetails, and the vertical pieces have giant tenons into the feet.  Each joint is reinforced with a lag screw.  I took an old plastic cutting board and made some feet to keep the wood off the ground.  I think it cleaned up the boats quite nicely.

Canoe Rack
Getting rid of the wire rack improved the living room.  However now the computer monitor sat on top of the tower, on the floor.   I thought about making a quick shaker style end table, or something quick. Then I saw the base of one of Krenov's standing cabinets, and thought that would look good as a small table.  The joinery is pretty simple if you do it while all the pieces are square.
Dry fit of the leg and "apron" joints.
 Around this point I decided to add a drawer.  Since  the "apron" isn't symmetric, and is pretty low on the sides I added something of a web frame to support the drawer and give the legs some rigidity.
Drawer support
Next up is shaping the curves.  This was something I hadn't done before, but really wasn't that hard.  I cut out the curve i liked on one leg, then used that as a pattern for the rest.
Copying the curves
Once the lines are traced, I cut the legs on the band saw.  The legs are curved in both directions, so to make the second set of cuts I taped the cutoffs back on to keep the leg square on the saw
Taping the cut offs back on.
I then smoothed and finessed the curves with spokeshaves. Once they were all similar I rounded over the edges.
All the curves cut, just roundovers and sanding.
The drawer opens to the sides instead of the front.  I also made the drawer sides walnut, to keep the front looking "open".  The drawer fronts are maple, and will hopefully look like part of the apron (except for the pull).  The drawer joinery is halfblind dovetails.


I decided to try my hand at very simple carving for the pulls.  I decided to leave the tool marks to give it some character.  Now in poor lighting the completed table.  All that's left is to apply the finish.
Completed table.  When closed the drawer is inset from the legs a little bit. 
"London pattern" half-blind dovetails.
Bookmatched Top
Carved pulls.
Once the finish is applied I will get some pictures in better lighting.  Just as I was about to apply the finish someone took down a tree, and I got distracted making bowl blanks:
Fresh cut wood.
Cutting to manageable size
No idea what kind of wood this is...any ideas?
1 bowl blank completed for drying.
Rounding the blanks on the bandsaw.
The wood is pretty heavy, even for green wood.  Looks to be ring porous, and the red heartwood is fading to more closely match the sapwood.  Anyone recognize the wood?