With Ian running around our glass top coffee table was destined for a short life. In September we took a drive out to Dunlap Woodcrafts. This is not your typical lumber store. You will not find piles of 4/4 FAS boards. What they do have is thousands of bdft of flitches burls, and big unique lumber. While Ian played with the proprietors I was looking for the right slab to take home. We found one, and it spent a couple months leaning on a wall in our living room. For those of you following along, I have been busy building other things most recently the Woodworkers Fighting Cancer table and chair set, and a growth chart. More information on WFC can be found
here.
 |
| While he didn't know what to think at first now he loves his chairs. |
 |
| I carved then painted the numbers. Used a plane after to remove the sloppy paint. Pine with a coat of shellac. |
Part of the delay was necessity and part(most) was not knowing what I was going to do with the legs. Last weekend I decided to grab some 2x and mock up some ideas:
 |
| Classic Nakashima style with slanted leg. |
 |
| More modern, waterfall leg, and open trapezoid for the other leg |
Once we set up the slab and looked, the waterfall/trapezoid won. Those legs made the slab look lighter and seemed to flow with the room. The waterfall leg will be a challenge. After going back and forth I think the best way to reinforce the miter is to make "Full-Blind Multiple Splines". This provides the most face/edge grain glue surface.
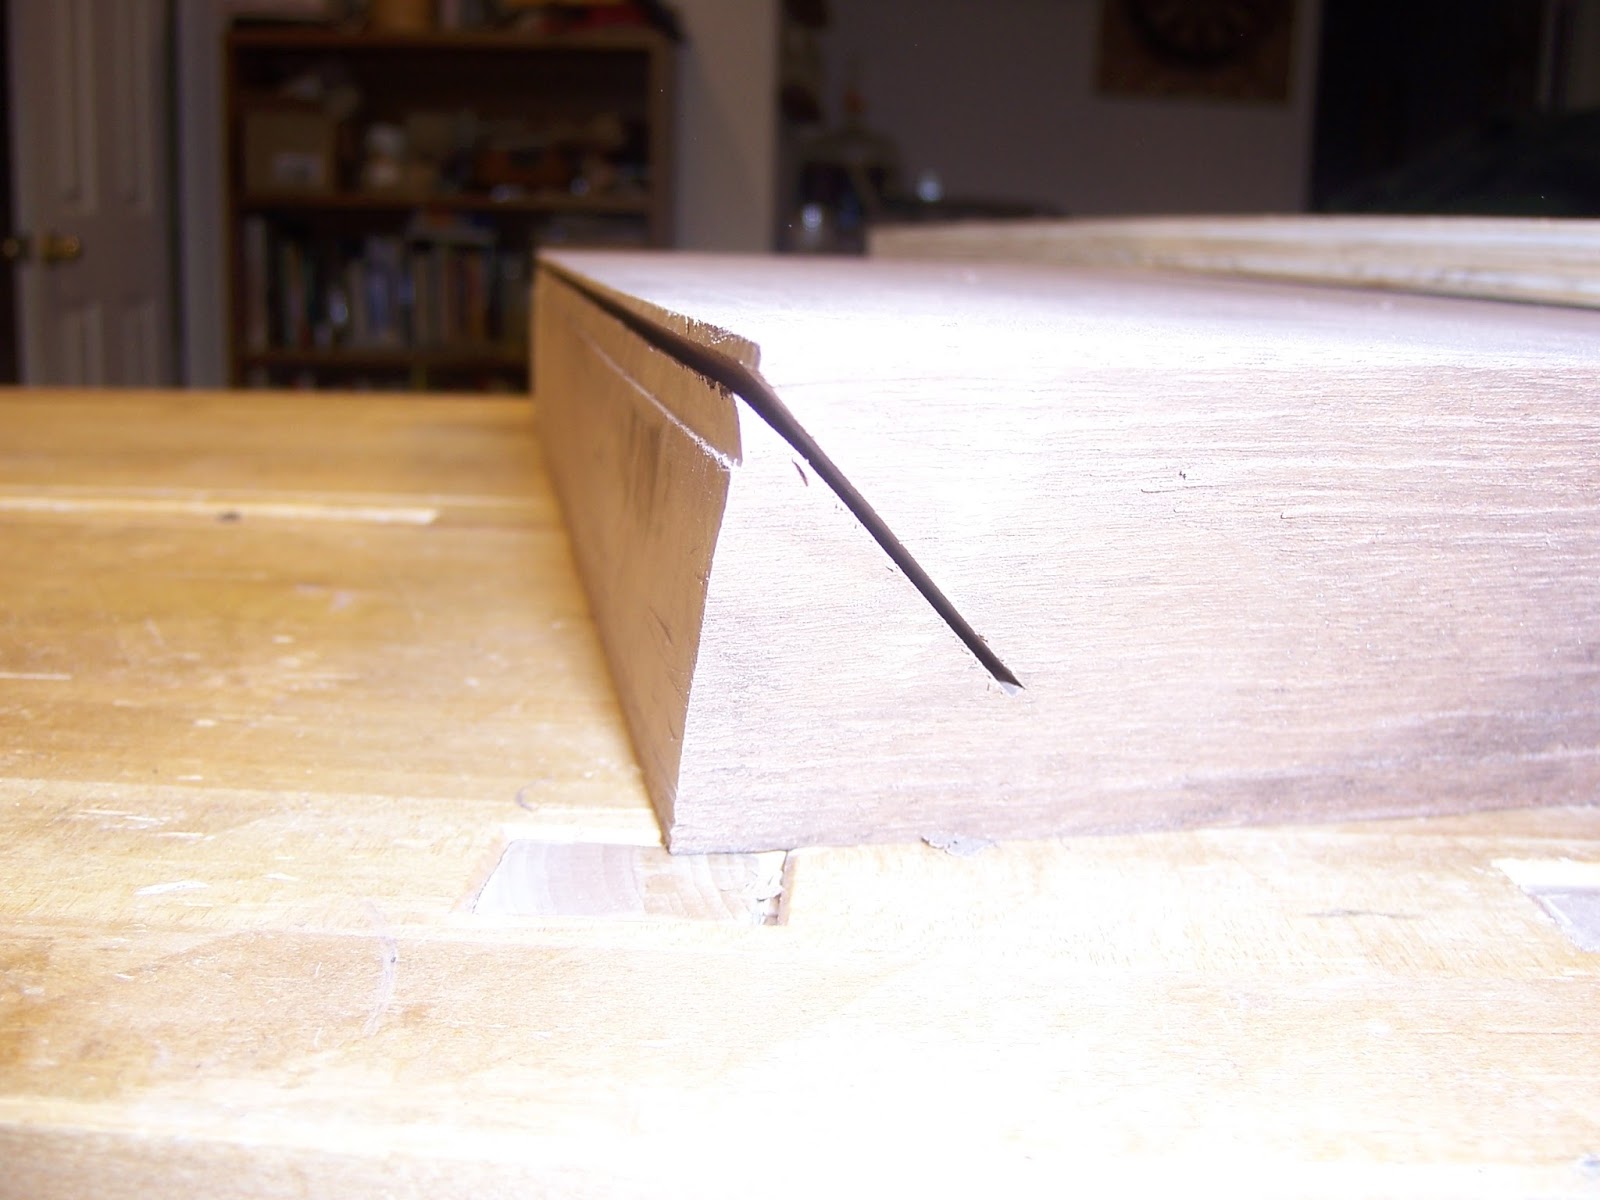
After I got the the board planed it was time to commit and make some cuts. These were done with a circular saw out in the garage. First I made 90* cuts to separate the top from the leg, then cut the 45* angle. With the blade tilted it didn't cut all the way through, so I finished them off with a hand saw.
 |
| Double check everything. |
 |
| No going back now |
 |
| I finished this with a handsaw |
This is the way it sat for a few weeks while I made my 45* table saw sled, (tested it on some picture frames) and a reference jig for truing the miter.


No comments:
Post a Comment